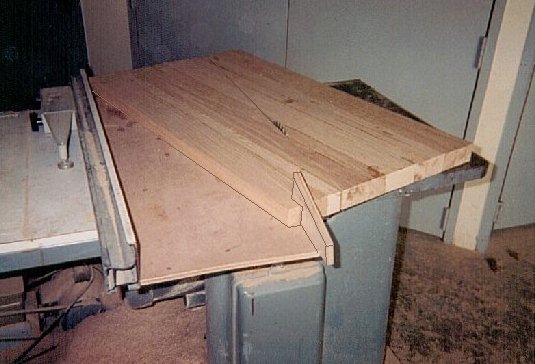
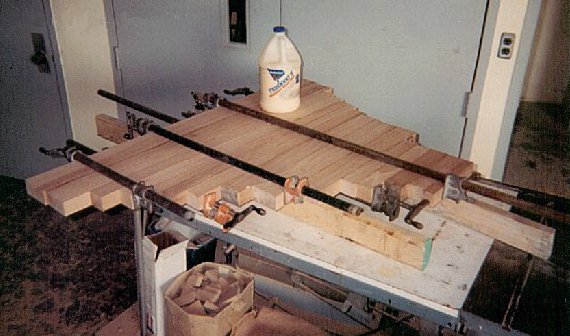
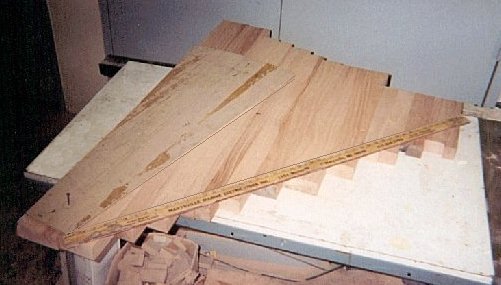
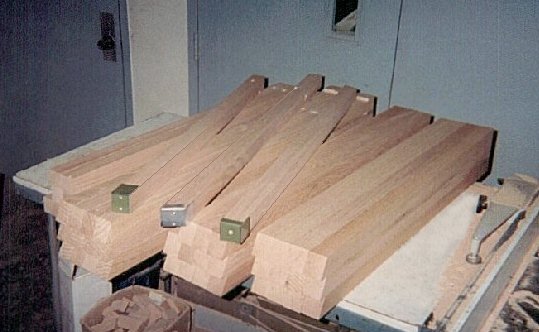
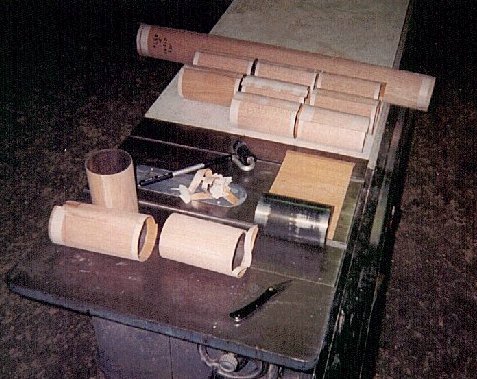
 Tread blocks glued and ready for cutting. In this example I've
made four treads per gluing. Tread blocks glued and ready for cutting. In this example I've
made four treads per gluing. |
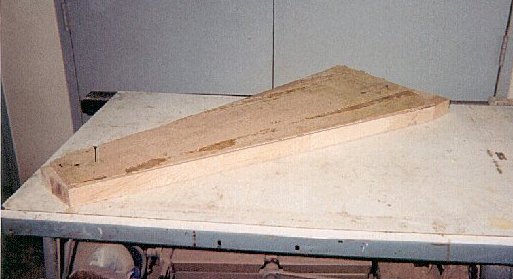
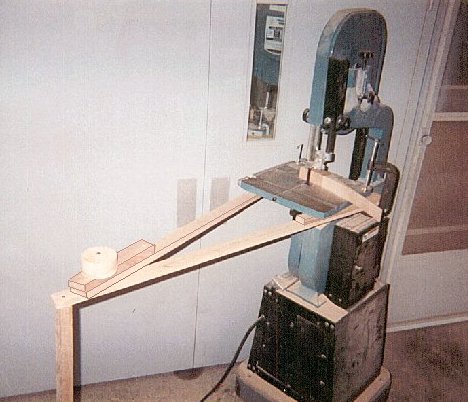
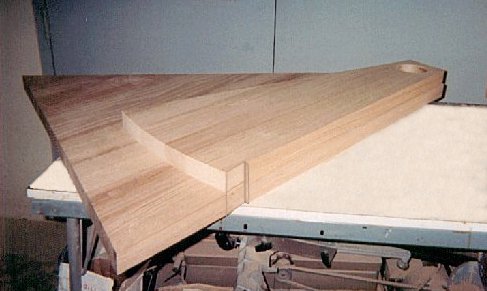
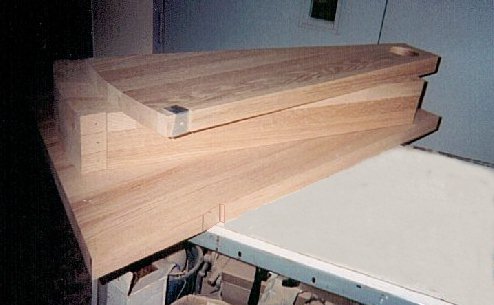
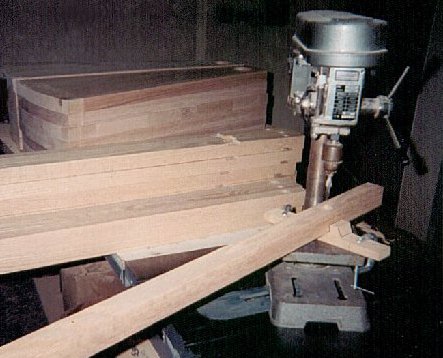
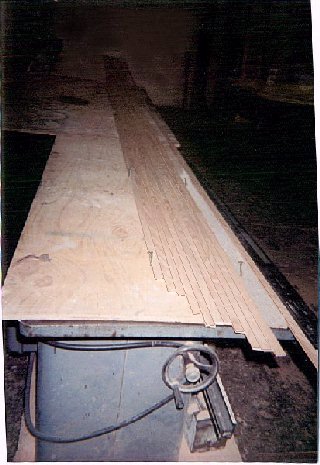
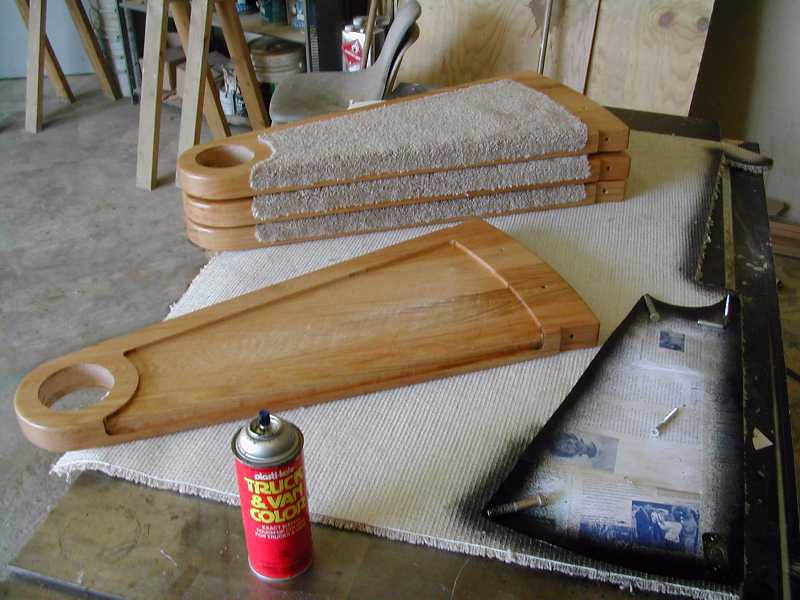
 Here's my homebuilt taper cutting jig for rough cutting of the
treads. The hook piece on the end of the jig keeps it from falling off the tread as it goes off the edge of
the saw. Here's my homebuilt taper cutting jig for rough cutting of the
treads. The hook piece on the end of the jig keeps it from falling off the tread as it goes off the edge of
the saw. |


 The next four pictures and
text would have shown handrail building details, but they are reserved for the plans purchasers.
The next four pictures and
text would have shown handrail building details, but they are reserved for the plans purchasers.
 Hidden
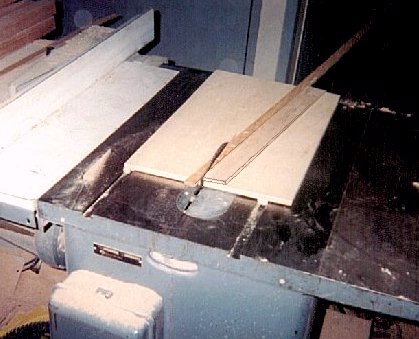


