Steve Bearss
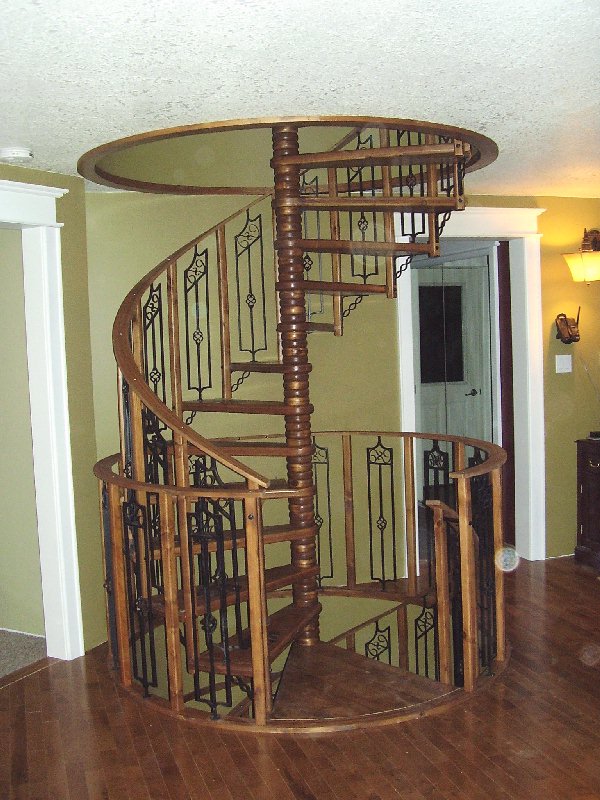
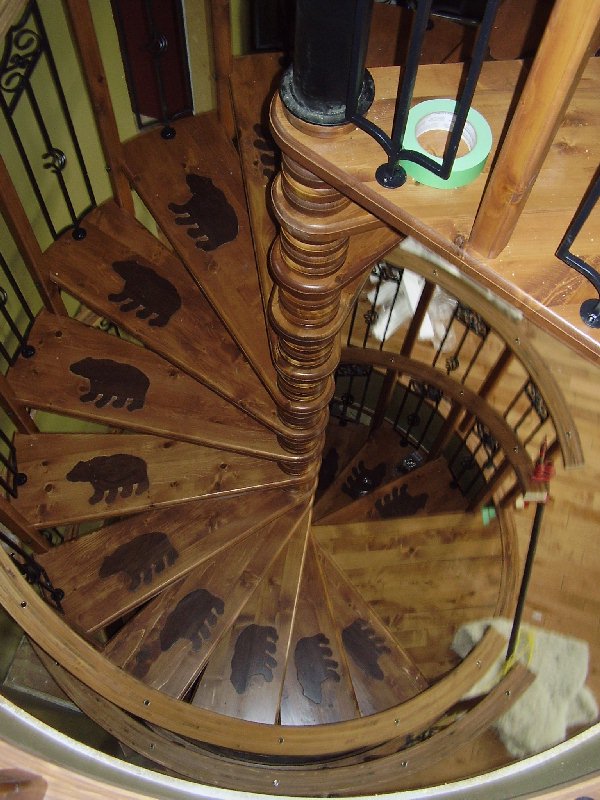
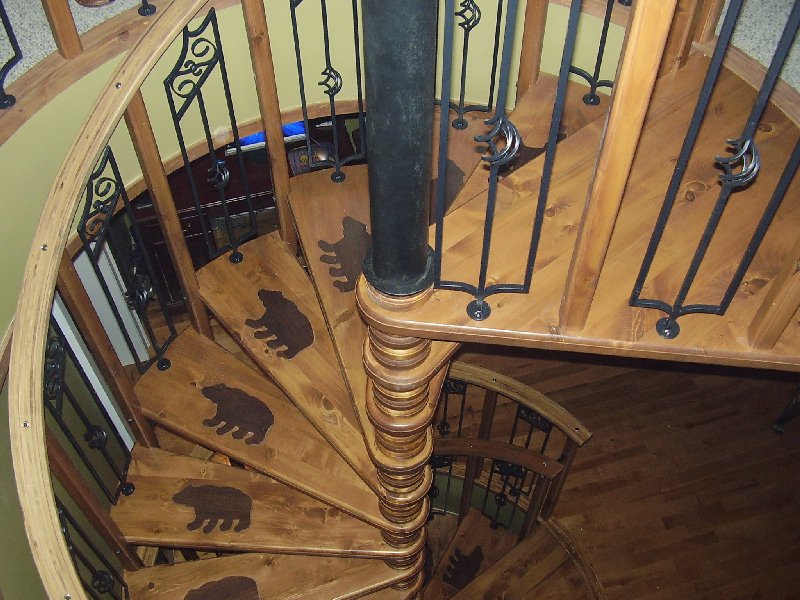
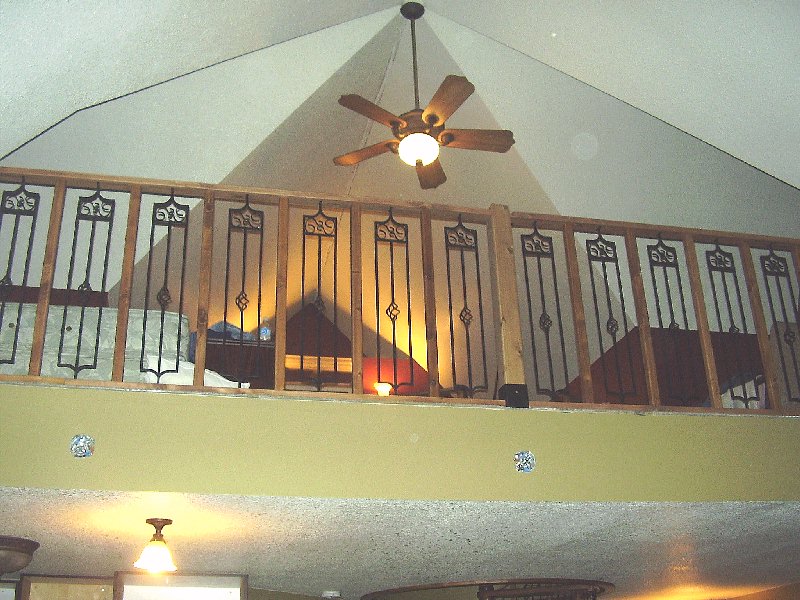
Very unique things have happened here.
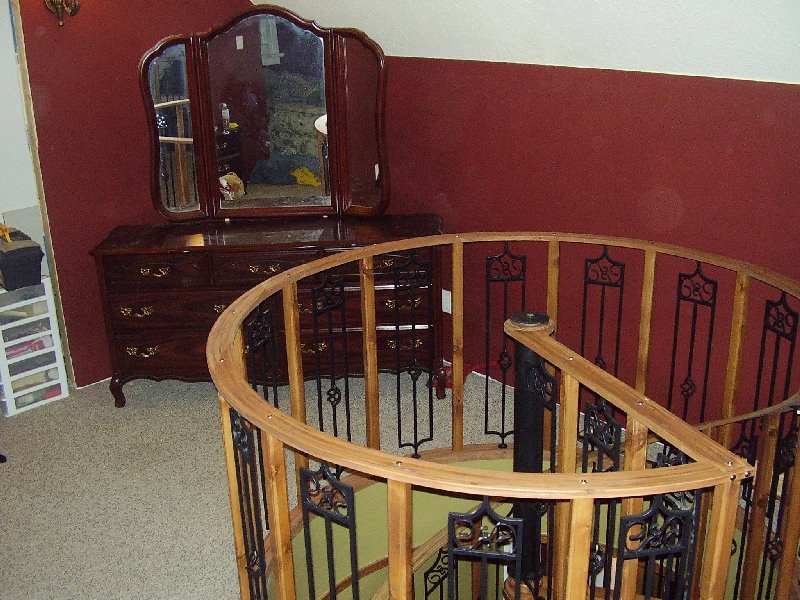
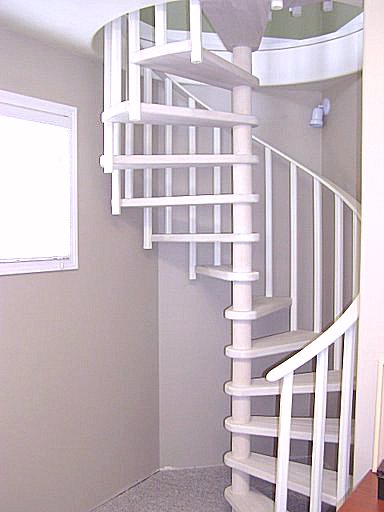
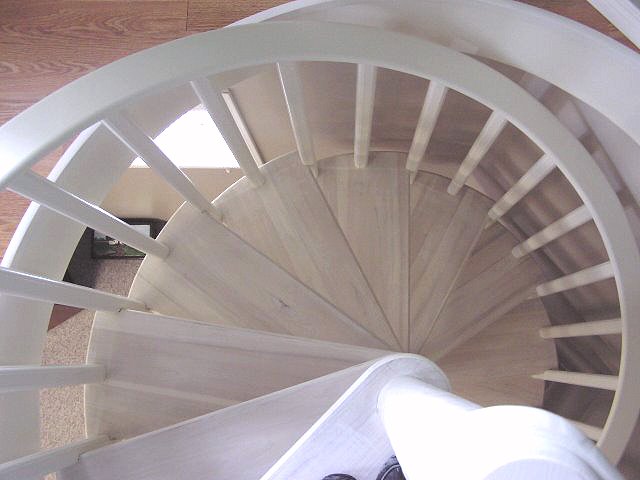
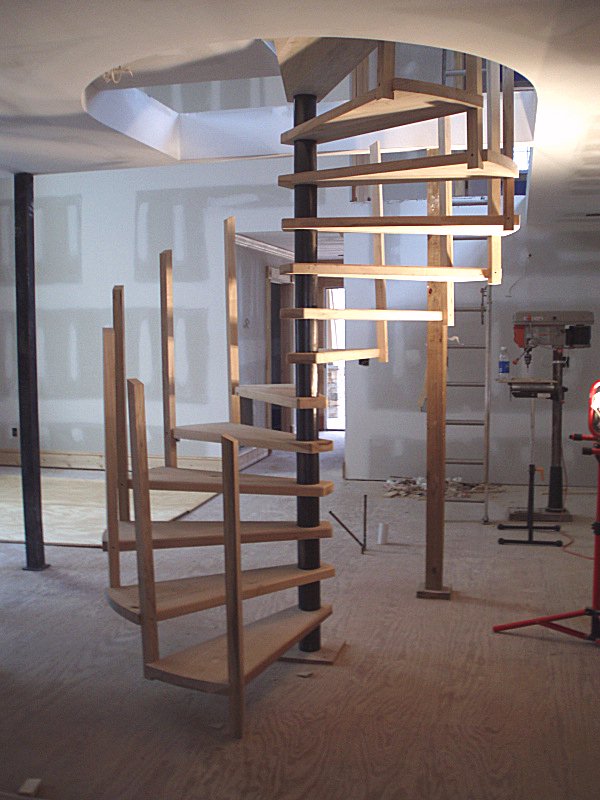
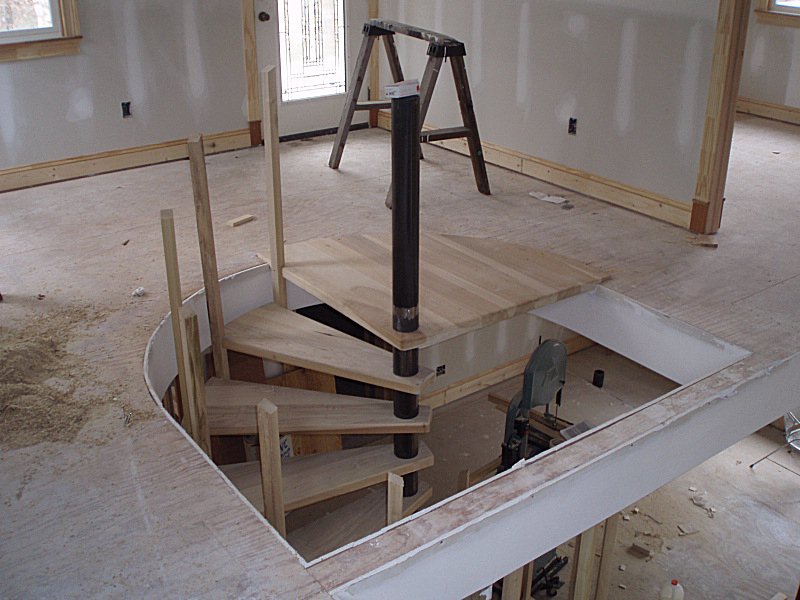
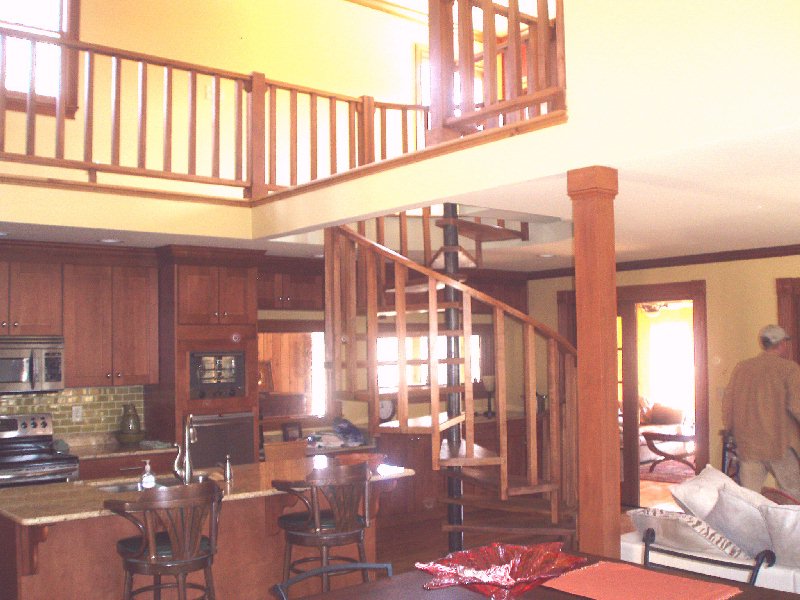
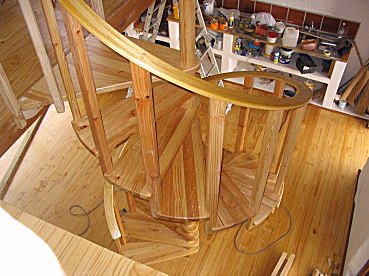
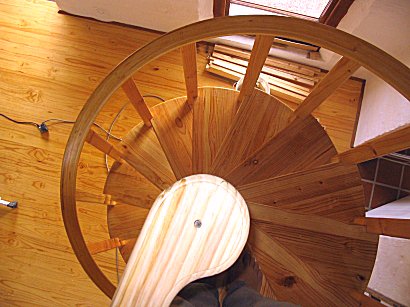
You've probably already noticed the bear inlays on each tread done with a darker wood. Also of interest are the steel balusters placed between the wood balusters.
You can also see that Steve has made his spacers on a wood lathe. Did you happen to notice there are actually two spirals here, one continuing down another floor.
|
Click the small images for the bigger ones.
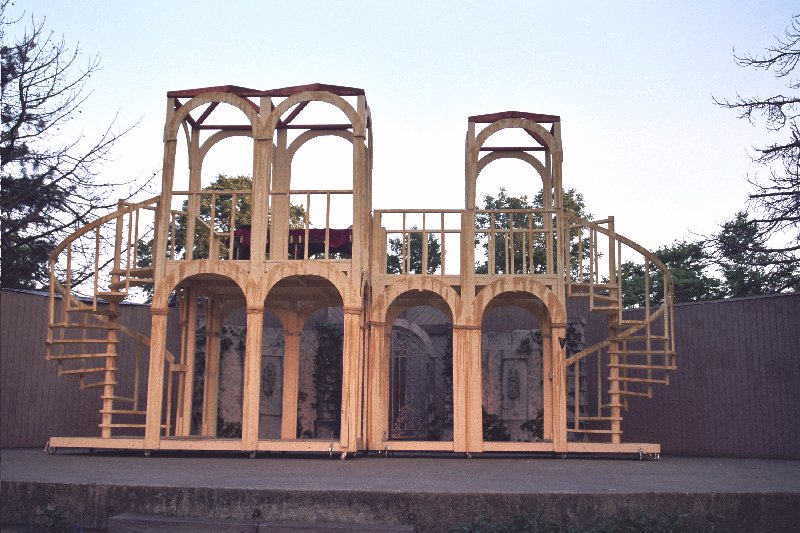
Bobbie Jeffrey
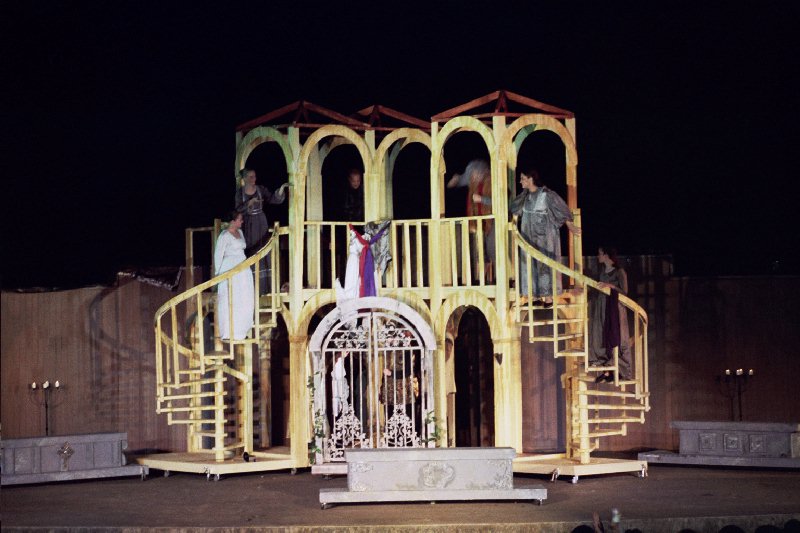
Talk about an ambitious project, this family built a stage set which included two
spiral stairs for a community stage play.
Pictured here are is Ron's son DJ and his daughter Holli. It became a family
affair!
Well, the show has been over for almost three weeks, and I once again have time to
breathe. As you can see from these photos, the spiral staircases were both functional and
aesthetically pleasing! We were able to move the two wagons, each with its own staircase,
into many different configurations, and it wowed our audiences. The whole set is very
open, so the interplay of light and shadow as our dancers moved the wagons into position
was worth the price of the show! Thank you so much for sharing the plans with us.
We've got them stored intact in a storage cave with our other pieces that have been
deemed save-able! We'll use them again many times.
|
Click the small images for the bigger ones.
George/Carol Born
Of special interest here I found the simple jig that George built for rounding the
small ends of the treads to be very clever.
Hi Jim, I have completed the stairs (except for removing the sweak!) I have enjoyed
the project very much and would do it over again when the time comes. I have talked to
quite a number of people about the Plans that you have prepared and how comprehensive
they are and easy to follow. Following them explicitly is the formula for a successful
stair.
As I mentioned earlier, I used Yellow Poplar because it was the least expensive 8/4
lumber available here in Saskatchewan, Canada. I spoke with BP Balusters-Stairs
(Saskatoon, SK) and they agreed that the choice of wood was good. The stairs are not in a
highly visible spot-- Master bedroom down to the office. I pickled the treads and painted
the balusters and handrails but I think I will paint the treads as well.
The stair is 60" in diameter in a 64" diameter opening. The height from floor to
floor is 116" with 13 treads and landing making up the stair. I borrowed a jointer/planer
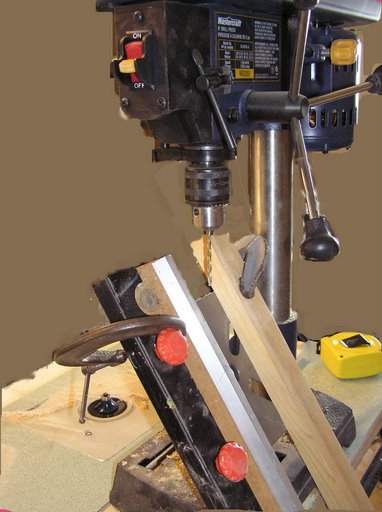
for most of the tread and baluster preparation and had the use of a floor drillpress to
drill the 3 5/8" holes. To prepare the slats for the handrail, I again borrowed a
thickness planer which did a great job. At this time, I bought a thickness planer that
was on sale. I routered the balusters, the treads, landing and handrails (I guess that's
everything except the spacers).
When I was veneering the spacers, they worked well except the top handrail spacer.
The veneer went on smooth and flat and overnight it wrinkled! I used the contact cement
for metal and veneer. I carefully removed the veneer, flattened it for a week and
reapplied it. It wrinkled again! I sanded and filled some of the wrinkles and left the
rest look somewhat 'rustic'.
As you will recall, I made the handrail twice. The first attempt was a failure due
to the unforgiving nature of the quick setting glue. The second attempt with epoxy worked
well and it has held together throughout the securing to the balusters. It was hard to
believe that the handrail could fit onto the balusters. My wife, Carol and I were
challenged by trying to find a way just to get the handrail circle into place to start
flexing it into a helix! Slowly with muscle power, rope and clamps we overcame the
unwillingness of the circle to transform into a helix.
Thanks Jim for your excellent plans (I have had the local lumber and hardware
stores look at your website to show them what I was hoping to do) which I put in a binder
and used constantly. I am so glad that I was able to use your plans and build this spiral
stair.
Thanks,
George Born
Waldheim, Saskatchewan
|
Click the small images for the bigger ones.
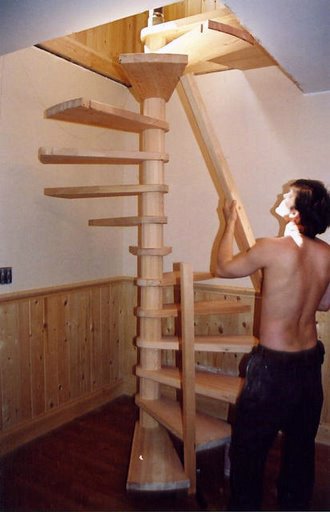
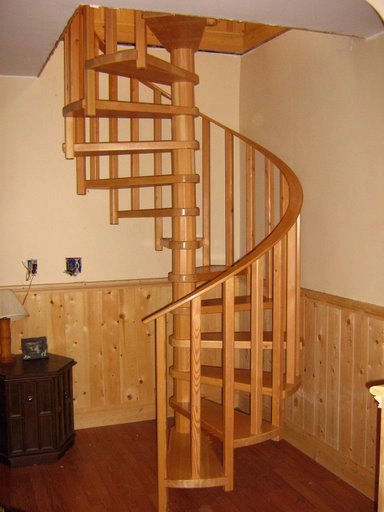
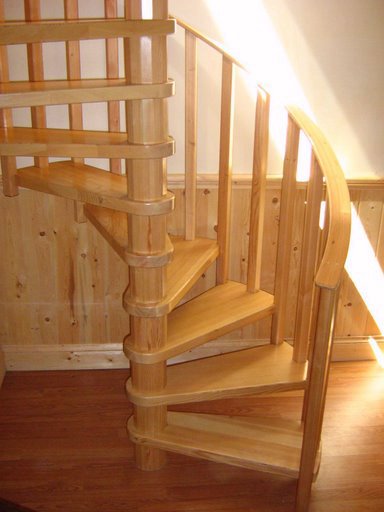
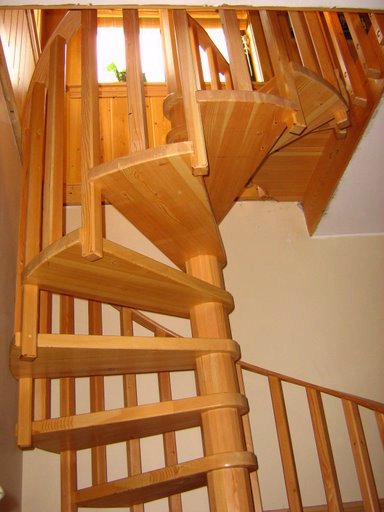
Stan Burnett
Finally, after many delays the stair construction has started. Ready to plumb and
make the pattern for the handrail. Also a good shot of the landing. Meet the happy home
owner, Elaine Monroe. The diameter is 5f, wood species is poplar. Notice I doubled up the
hand rail, had to build it two times. I also milled to match and installed all of the
other railing. Thanks for the plans they worked excellent.
|
Click the small images for the bigger ones.
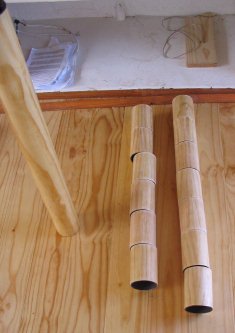
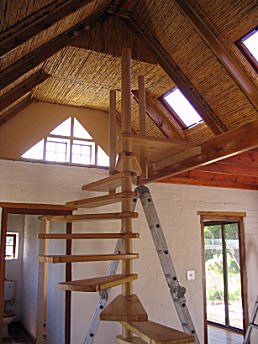
Glenn Ashton
Hi Jim,
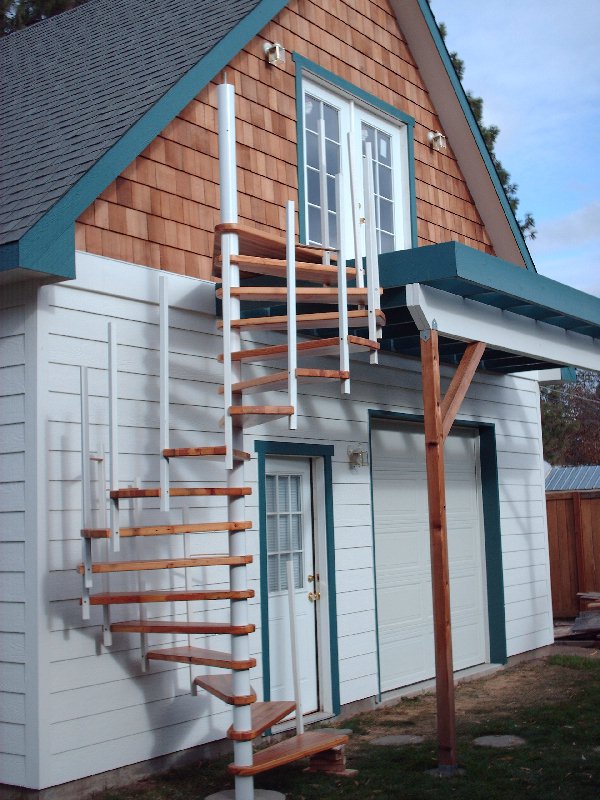
Finally finished my spiral stairs in Cape Town, South Africa; you plans have
conquered another continent!
As you can see from the pics i changed a few things slightly as i went along but
stuck to your core plan. It was a good plan and it worked every step of the way despite
my poor woodworking skills and my basic toolkit - drill, hand planer, hand belt sander,
router, saw table. The treads all ended up slightly different thicknesses but since i
knew the total thickness it was not a problem figuring out the spacer sizes. And of
course this is a metric staircase. Its built with the stair treads at a 760mm radius,
which is just shy of 30 inches. 1 inch = 25.4mm
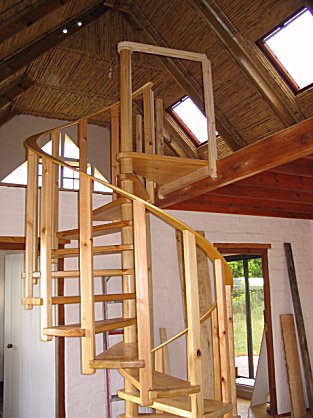
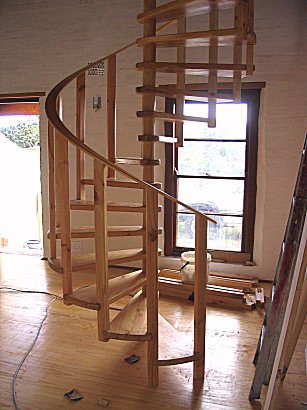
The whole thing is built of South African grown radiata pine, except for the
handrail which i think is spruce. Its straight grained clear wood i just had lying
around! It turned out really well and i probably saved around 70% of the cost of a steel
or prefab stair, not counting my very very expensive labour of course! As a plumber I
dont come cheap! I did the welding and everything else except cutting the spacers which i
had done at a machine shop to get them good and square.
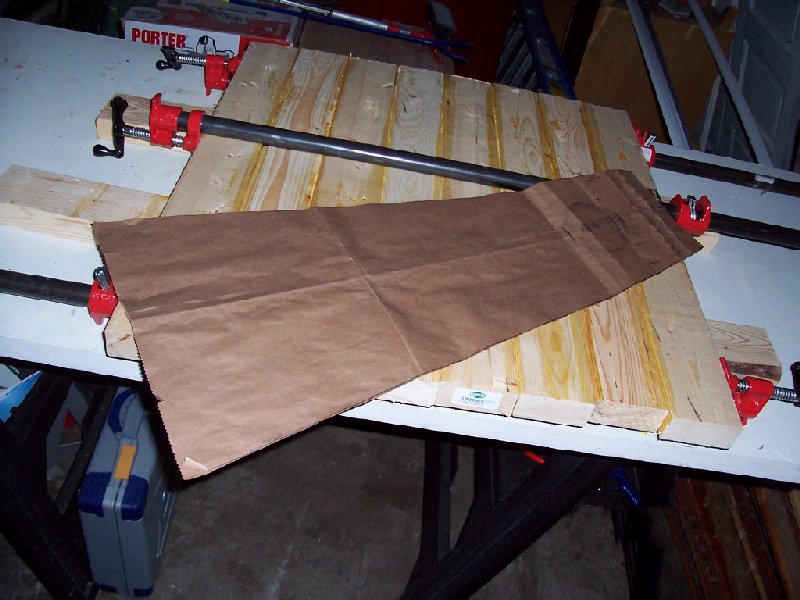
As you can see i did the layup for the lamination of the treads in a huge block
which was time saving. I got 12 steps out of the one you see in the picture and then laid
up for the last three separately. Its a pity I did not get any pics of the handrail
layup, it was fun and really hard work getting it all in before the glue went off as we
are in the middle of summer and its hot and dry and i had to do it outside in the sun, on
the brick paving, so i had about 10 minutes to do it! Luckily I did a dry run first! It
ain't sprung yet!
I changed the size of the balusters and made them 2 x 3 inches in your sizes,
pretty much. I notched them deep, about 25 mm, one inch, and the stairs are very stiff
and solid, what with the serious screws that are in the treads. But putting the handrail
on the top stiffened the whole thing up more. I also put the bottom steps balusters both
down onto the floor as you can see, not fixed to the floor.
All in all a most enjoyable project. I may do them for sale if someone is really
interested and would like to pay me lots of tom, but we will see about that! I have had
positive feedback on the stairs and it may be cool to make some out of some oak or other
hardwood which i could not really afford. I would get the next ones run through a
thicknesser first, as i did with teh handrail strips, it makes all the
difference.
Any rate mate, thanks for the plans, well done on putting them together really
clearly - hell, even a plumber can understand them!
I guess i get an honorary carpentry qualification now that i have built these. I
also built some conventional stairs in the other flat, as well as some really different
stairs in my home that I will send you a picture of as well. I also built all of the roof
structures, so i guess I'm getting there as a chippy.
|
Click the small images for the bigger ones.
Tim Fisch
Hey Jim,
Just thought I would send a quick note with a picture. I put my stairs together
this weekend. Talk about beautiful, WOW. There will be more pictures and notes to follow.
When I finish the handrail I'll send some more pictures and description of materials
used. Thanks again.
I hope Tim does follow through with more pictures, he's got a nice one in the works
here.
|
Click the small images for the bigger ones.
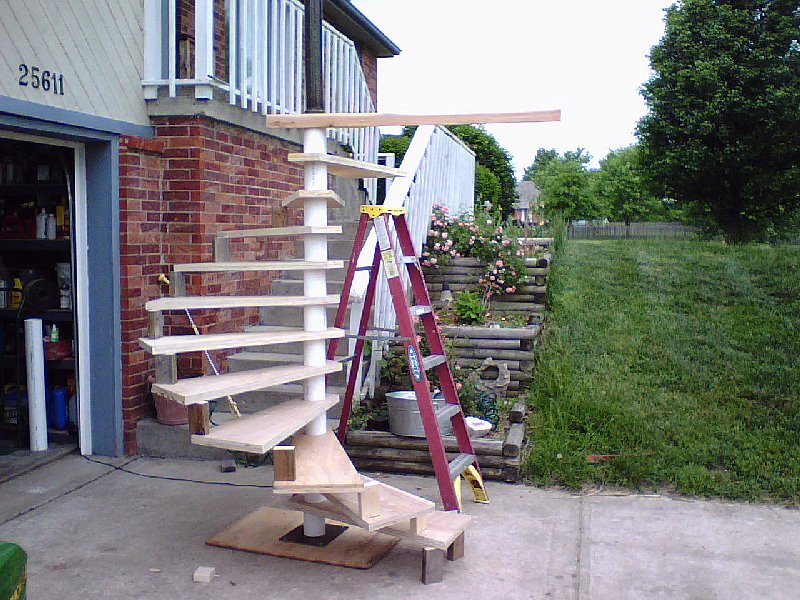
Gene R.
Hello,
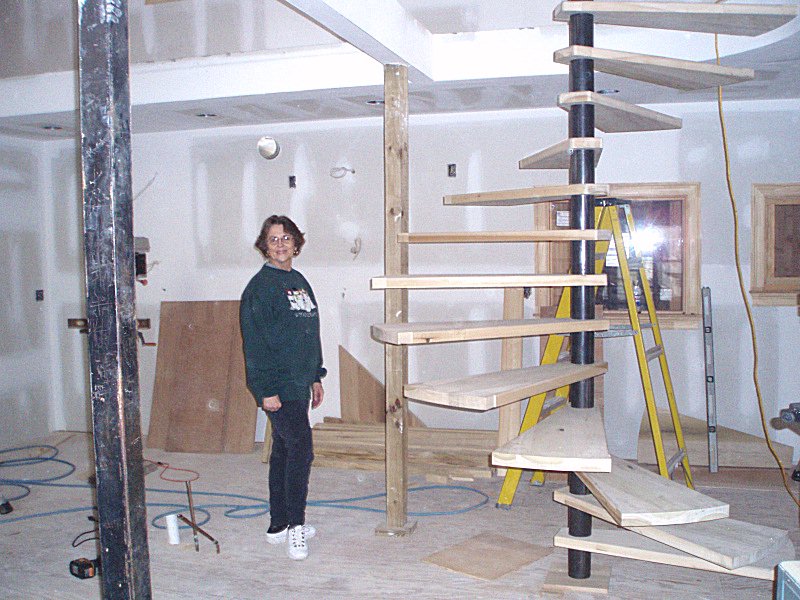
Finally got going with the project. Here are some photos that I took. I am about to order
the spacers and start building the rail. The plans are so far so good!
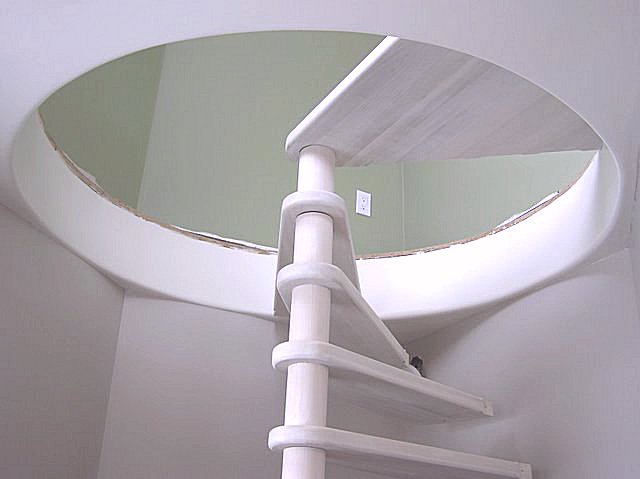
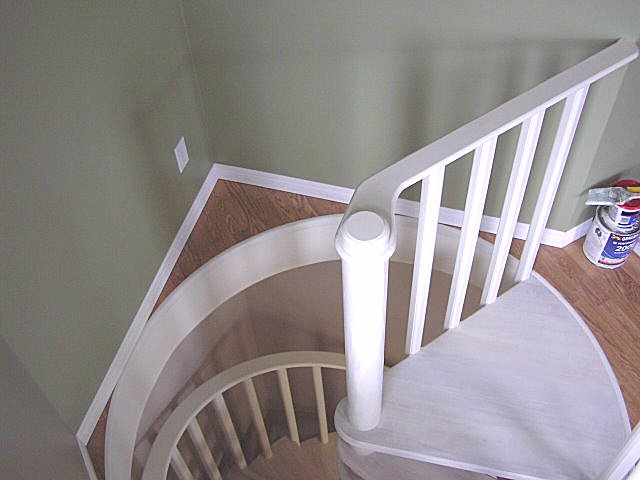
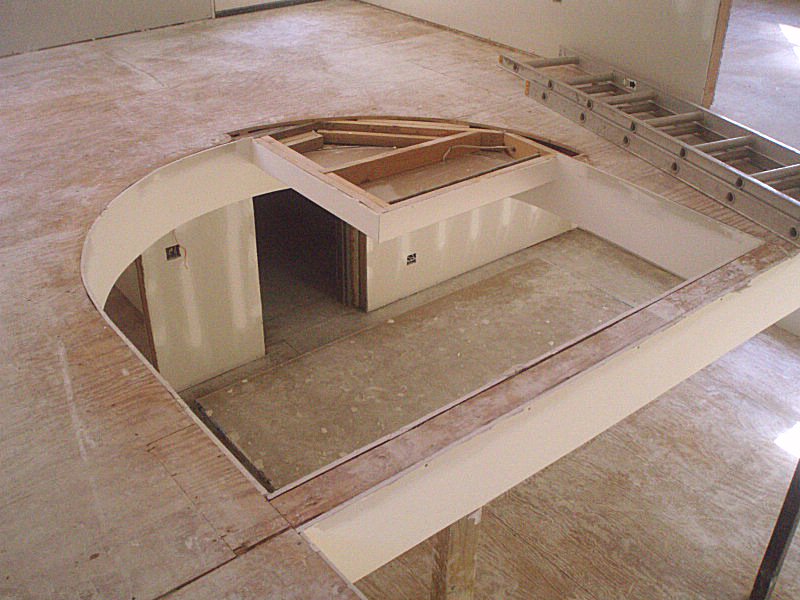
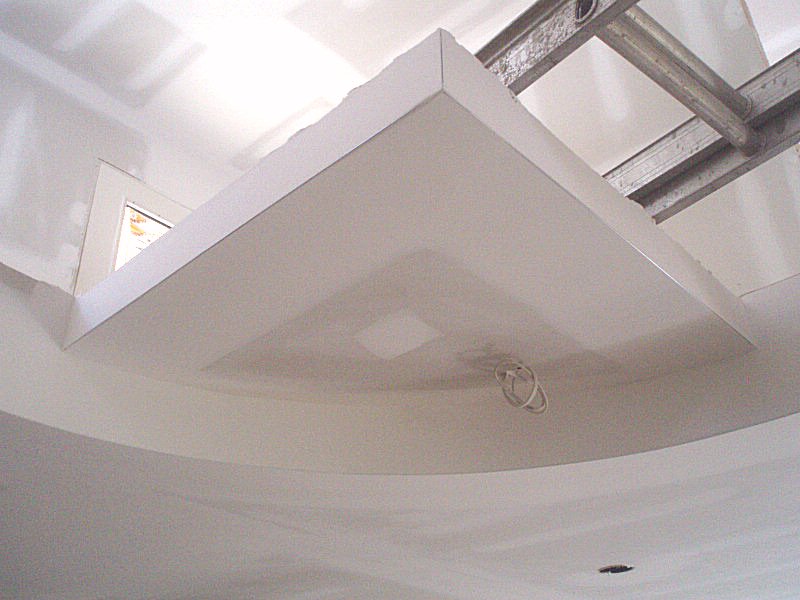
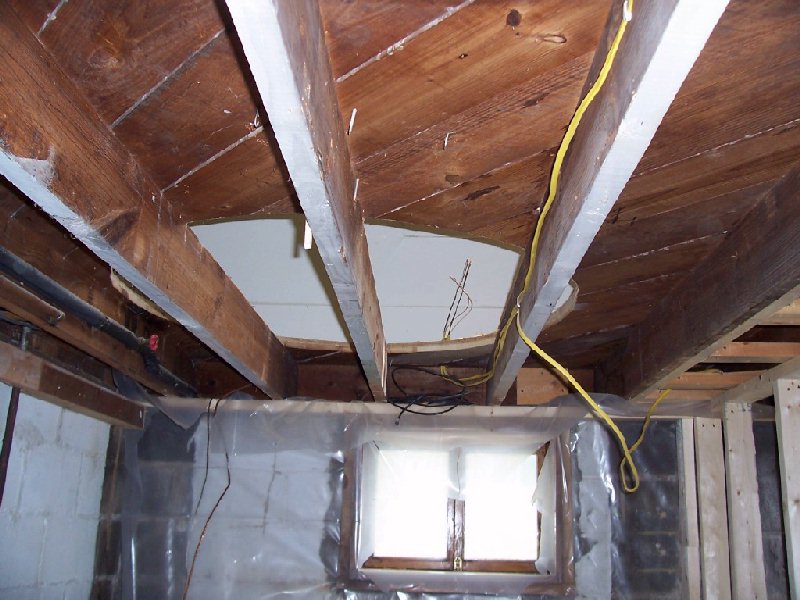
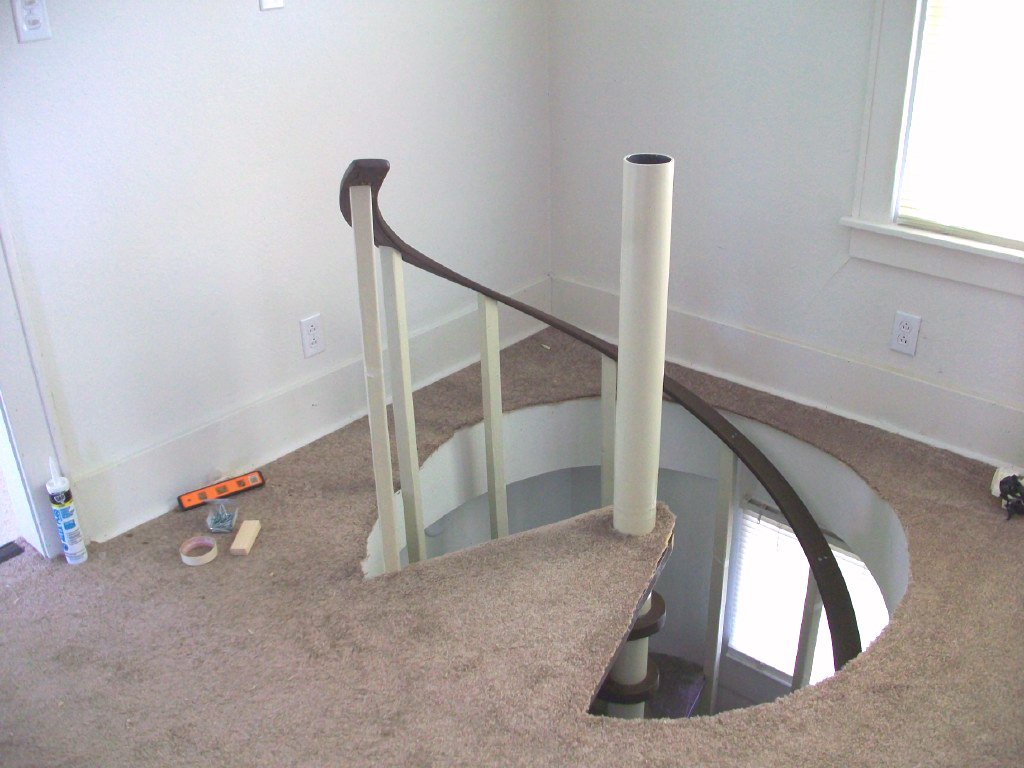
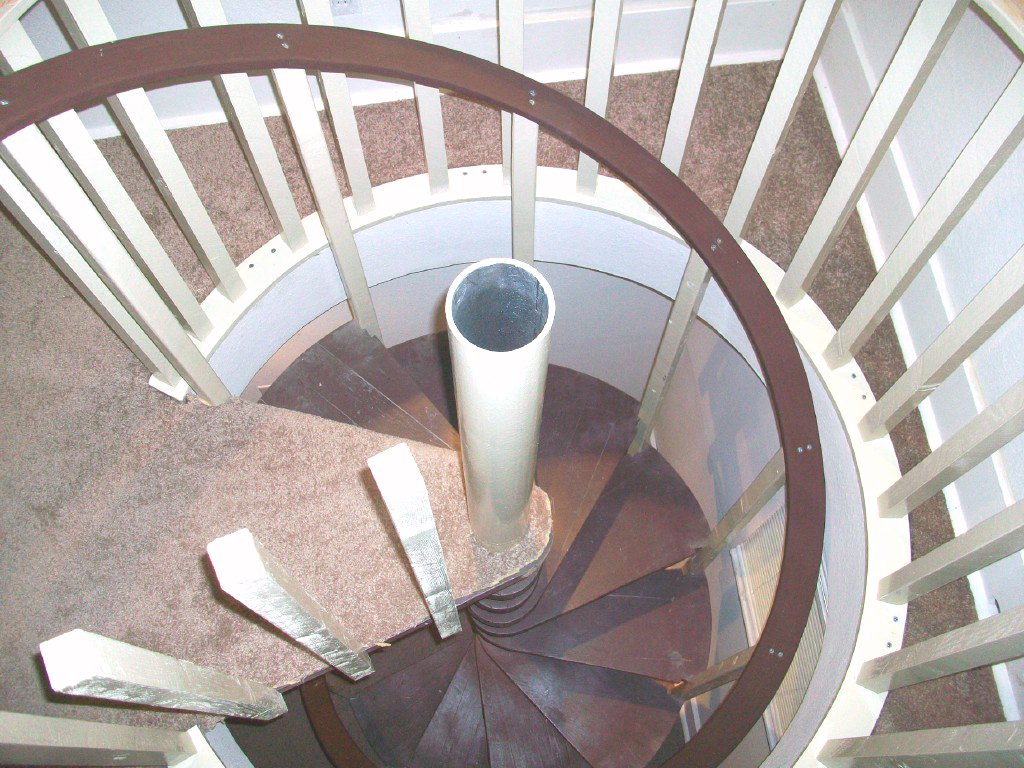
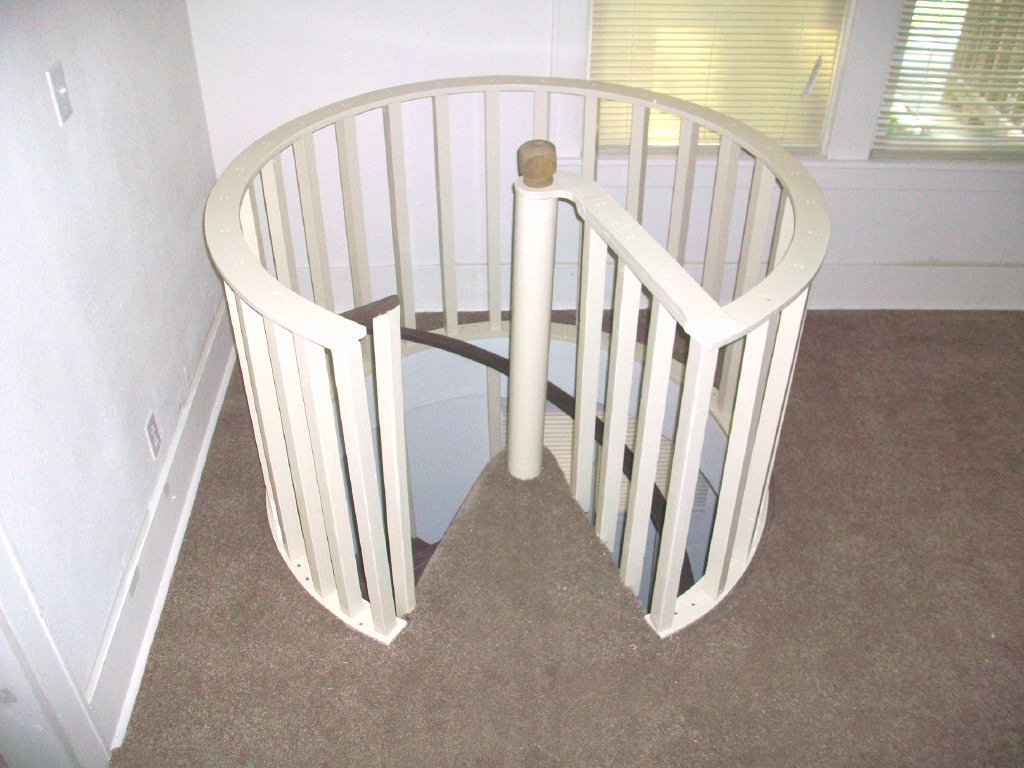
I like the round opening in the floor better. However, this spiral stair is not
going to be a masterpiece because i am rushing to getting it done because i need to rent
this apartments asap. I am not going that extra step to make it look splendid but it is
going to look good.
Yes i am having fun! and these two small spirals are the warm up for the real big
one that i am going to build for the outside.
Later, Gene
|
Click the small images for the bigger ones.
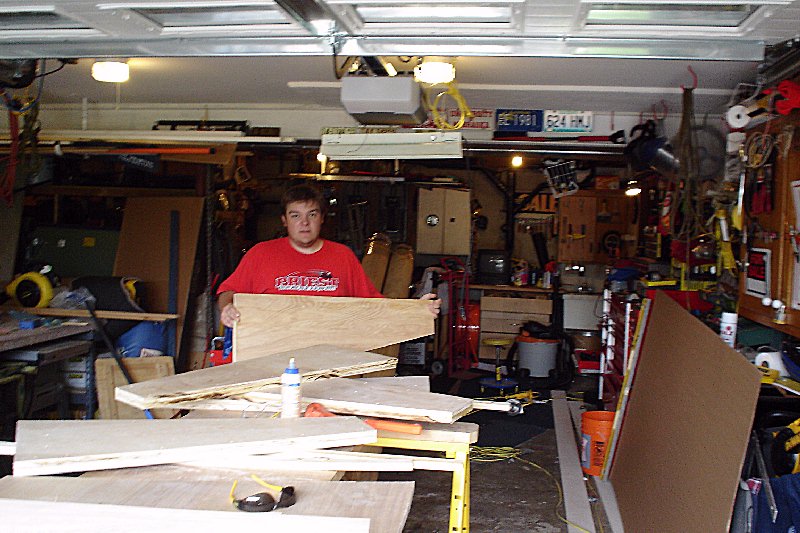
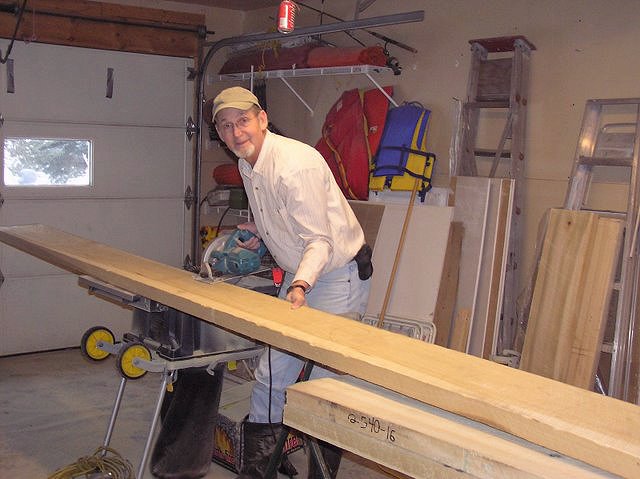
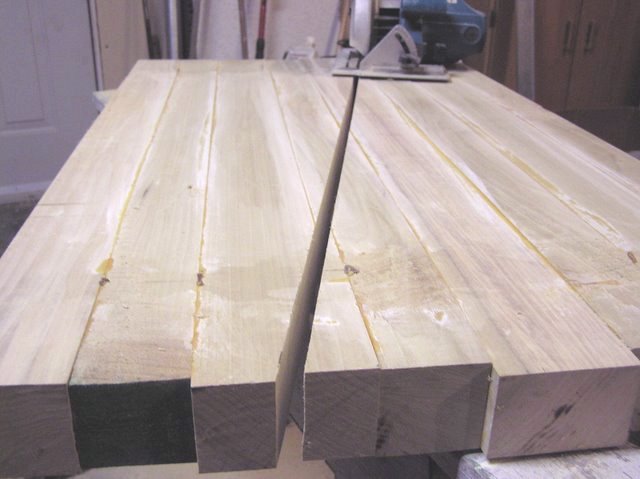
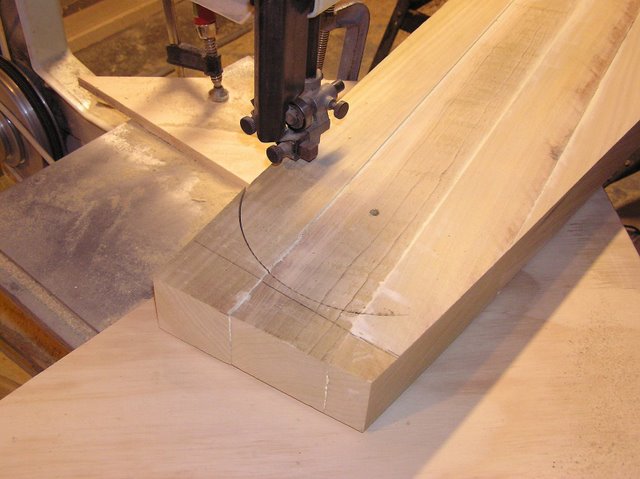
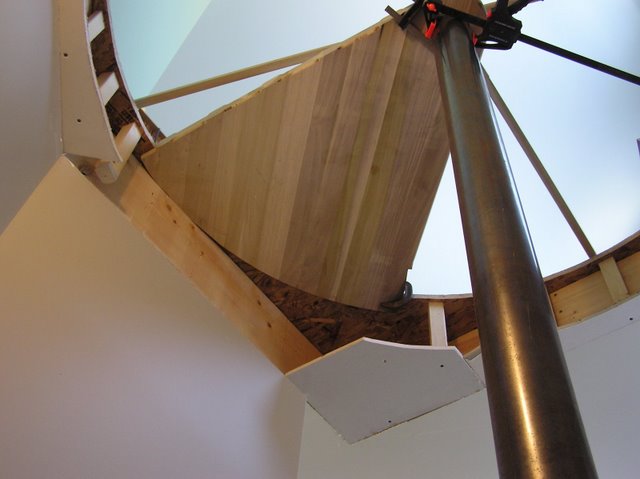
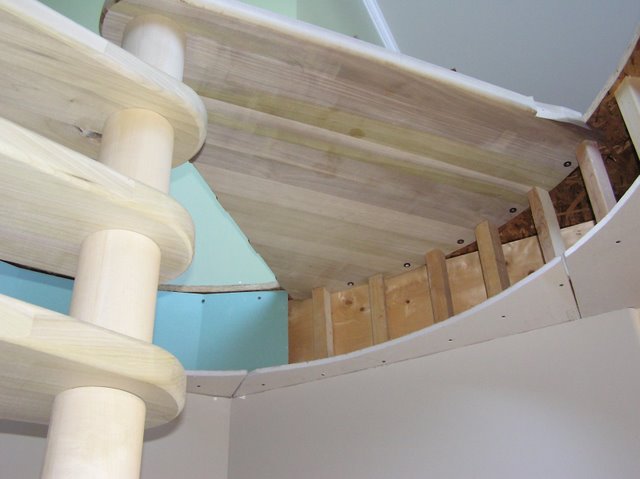
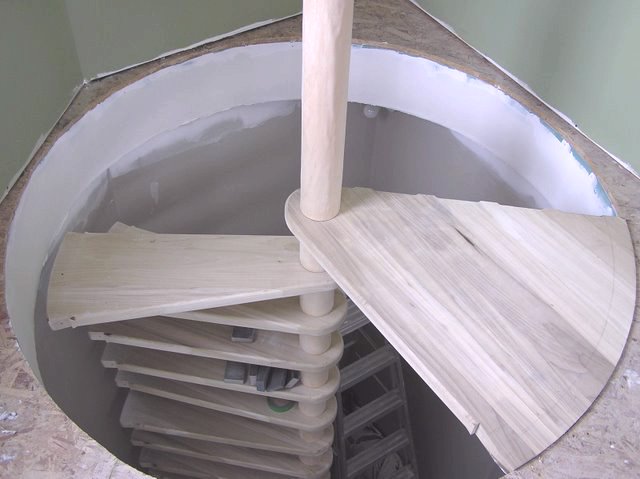
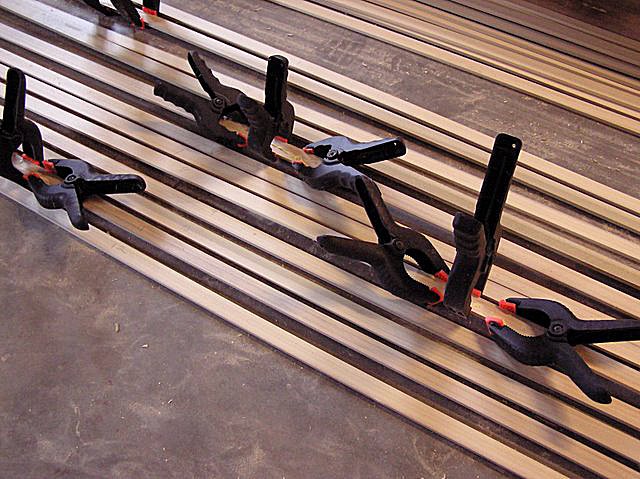
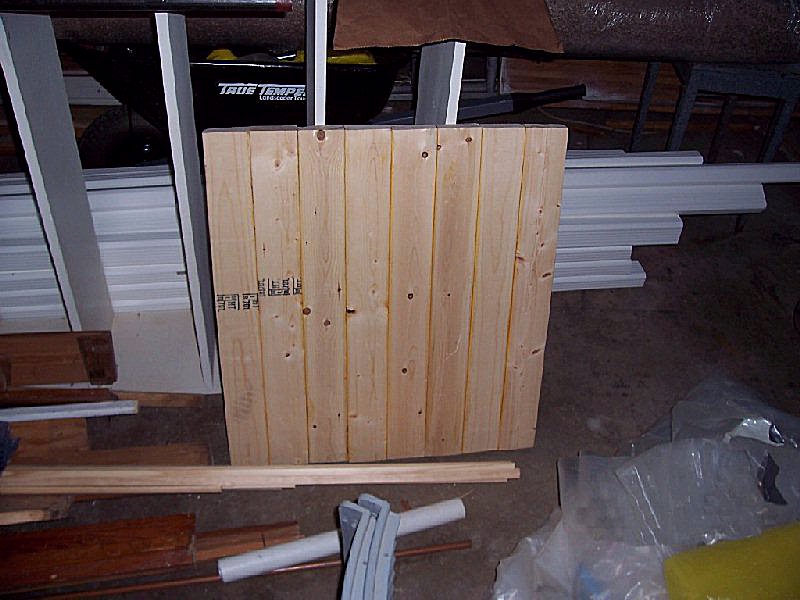
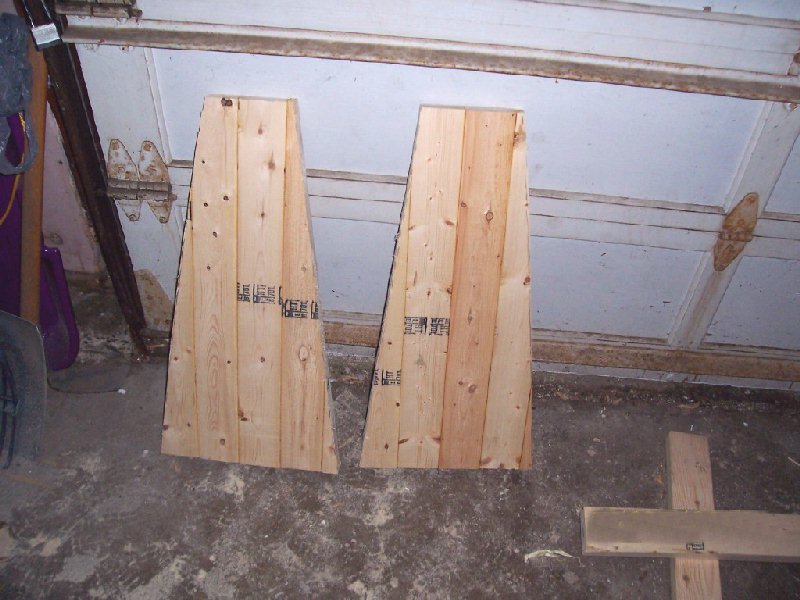
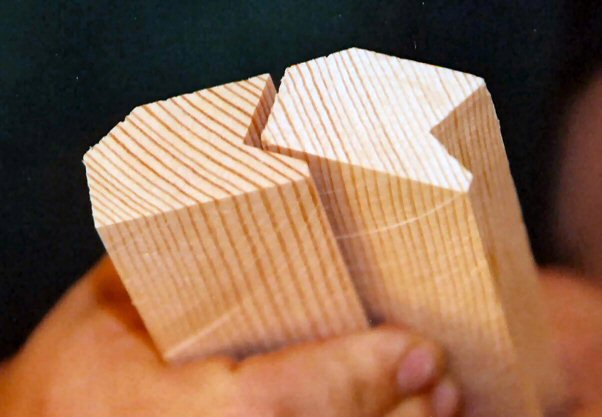
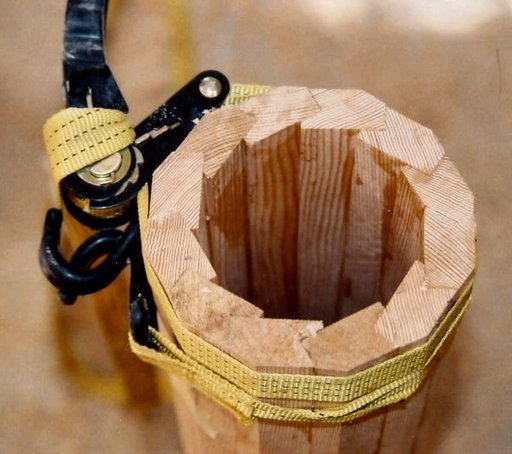
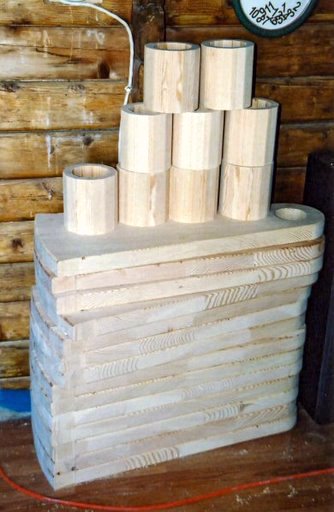
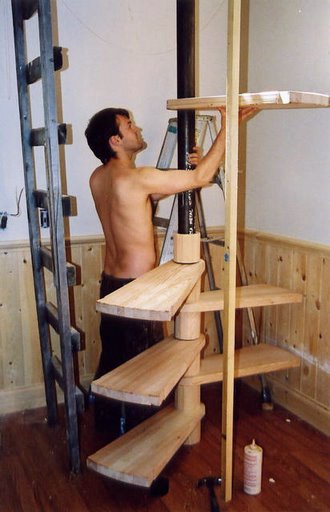
Jesse David
Just wanted to say thanks for your great stair plans, and to show off the results.
I used some very nice, clear, straight grained fir, and made the treads a full 2" thick
finished for extra strength. I followed your plans pretty closely, but I made the spacers
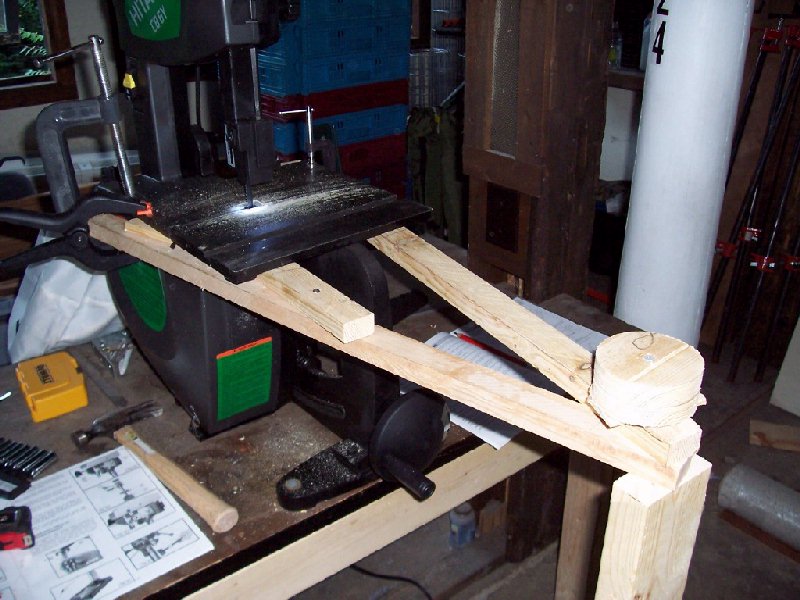
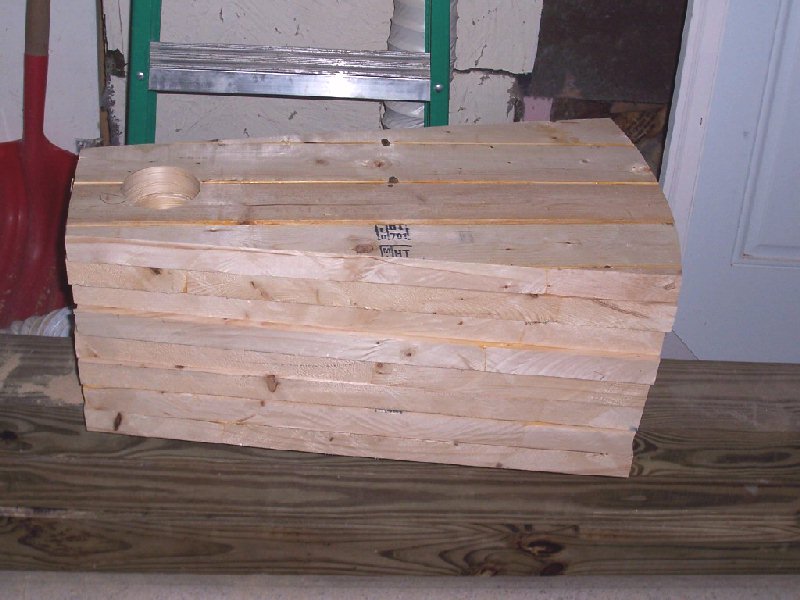
entirely out of wood, rather than veneering steel spacers. I used a 'bird's mouth' router
bit, which can be used to make very strong 12-sided 'cylinders'. It's apparently a
technique used to make very strong but hollow wooden boat masts, an idea i got from
browsing router bits in the Lee Valley tool catalogue. It worked very well, and was a fun
challenge too.
Again, thanks for the well thought out plans, they saved me a ton of
headaches.
Regards,
Jesse Thornton
The router bit that Jesse is mentioning is availible from Infinitytools.com.
|
Click the small images for the bigger ones.
|