|
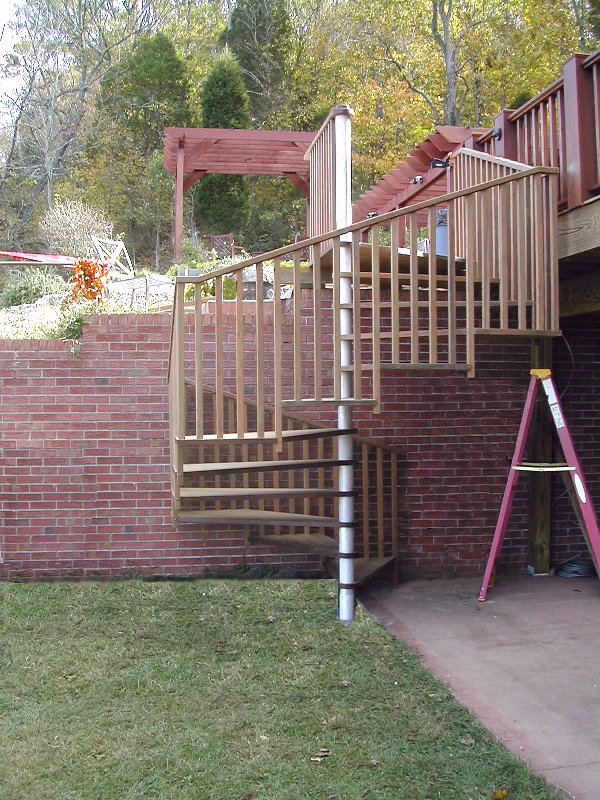
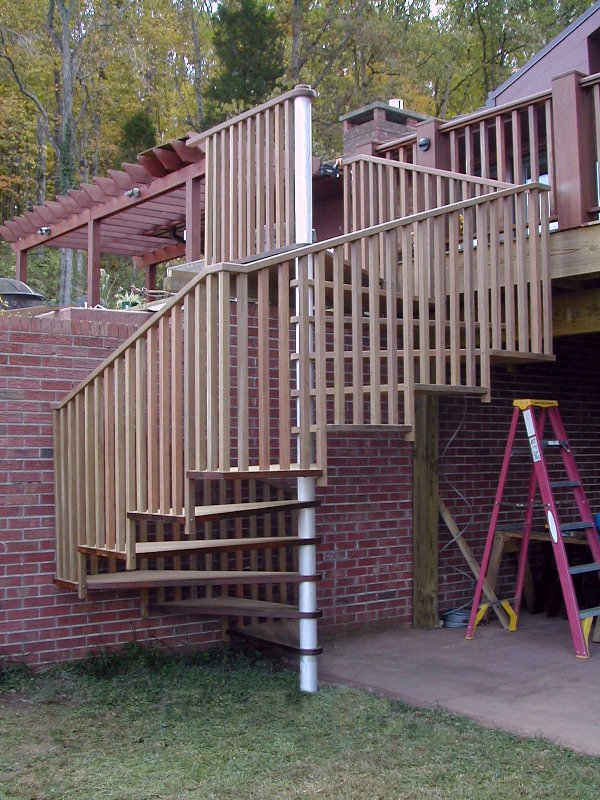
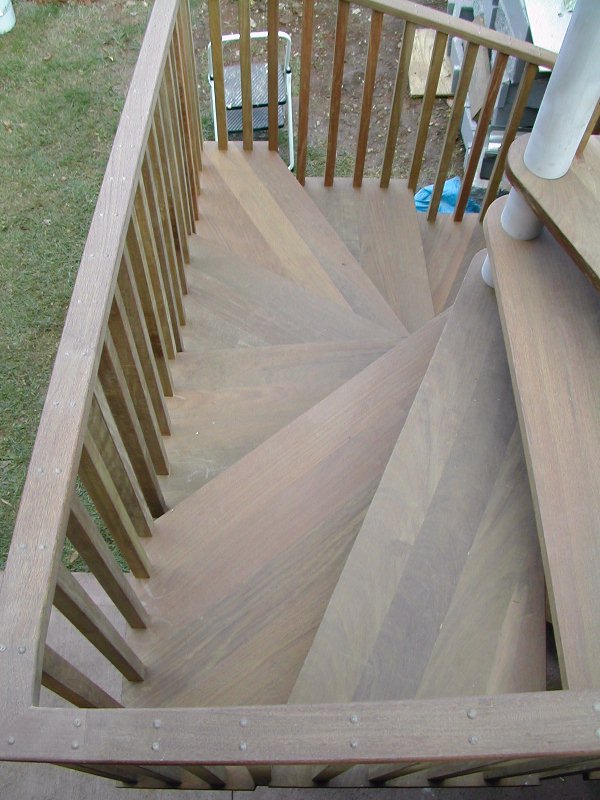
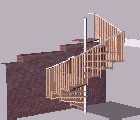
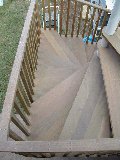
This rectangular Spiral staircase was also a first for me. I'd wondered how one of the circular spirals would look if the treads were allowed to run into corners and finally had a opportunity to build one.
Click on the small pictures to bring up bigger ones.
|
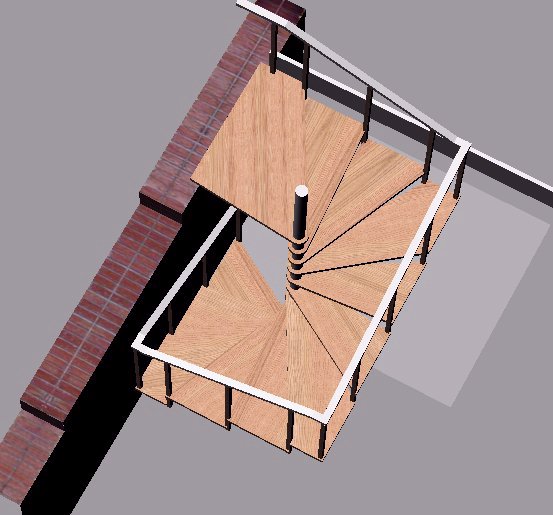
 As is quite often the case, I start unique projects using my 3D modeling program to design the stair as well as develop measurements. Actual dimensions are used in constructing models.
|
 These CAD (Computer Aided Design) models have the same attributes as their full size counterparts. As the parts are made to size as they are drafted, it's an easy matter to later grab needed dimensions from anywhere on the model.
|
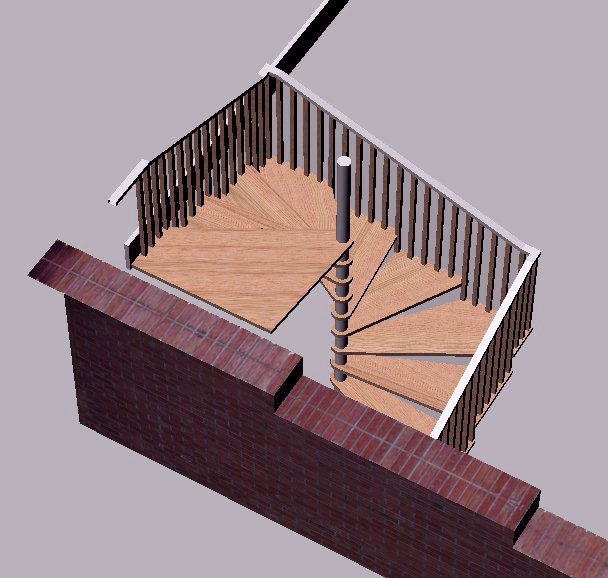
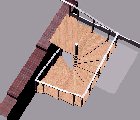
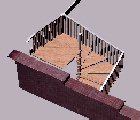
 Models can be as detailed as needed, including the area where the project will eventually be erected.
|
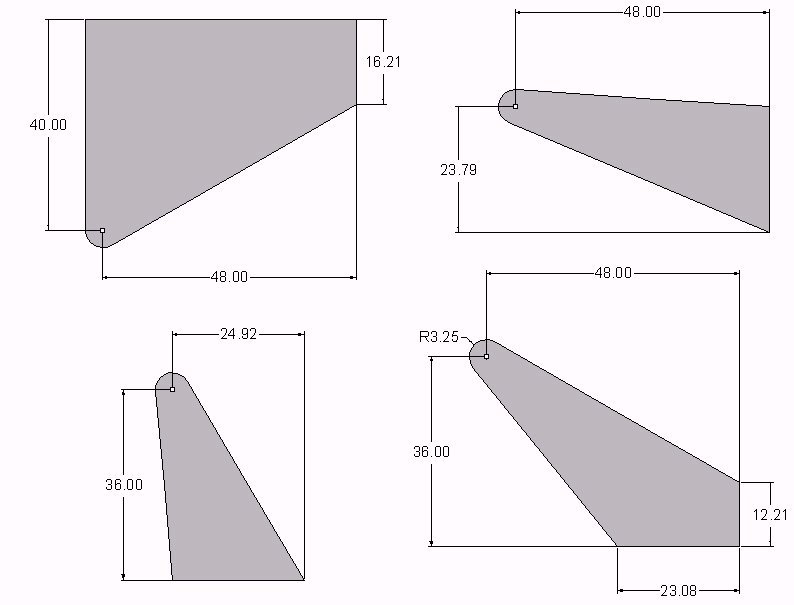
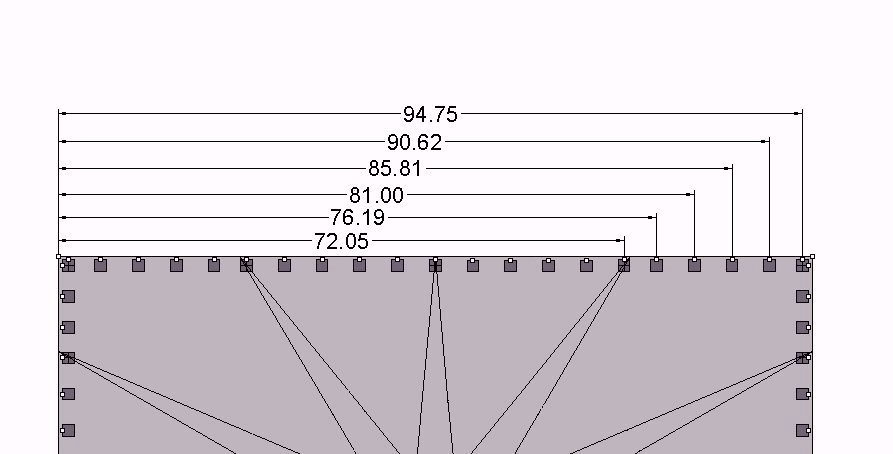
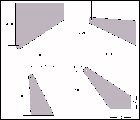 As can be seen here, there are just three tread shapes to construct this rectangular staircase. The actual finished dimension was 72" by 96".
|
 I was able to determine the exact location for the baluster placement on each tread which saves a lot of time during construction.
|
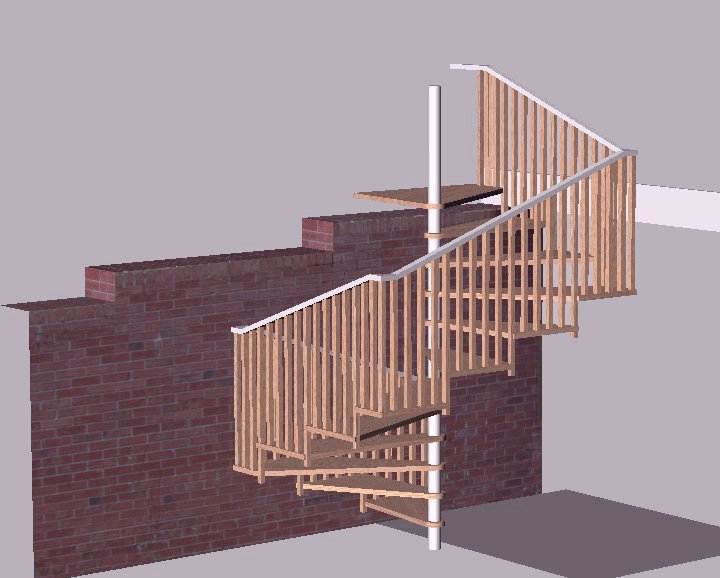
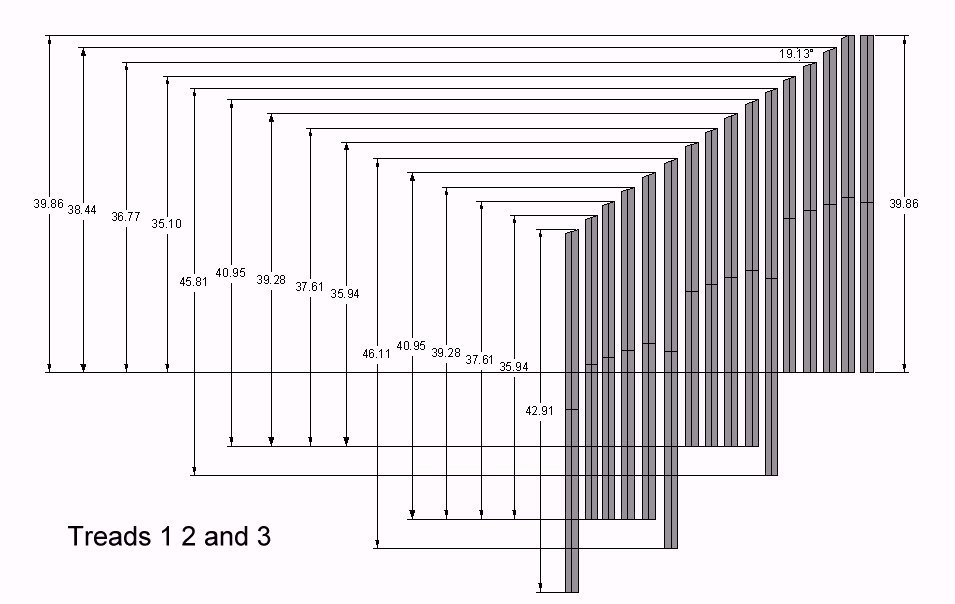
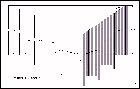 Here are a few of the balusters lengths I was able to print for working drawings. Everything necessary to build all this staircases parts was determined before I started cutting any wood. Note how the handrails angle is also included here.
|
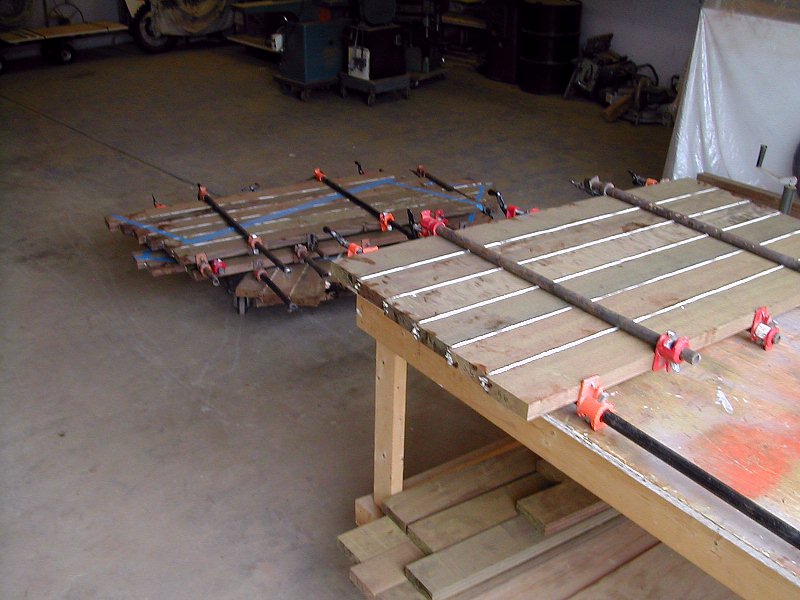
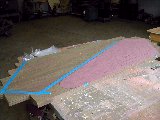
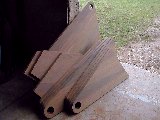
 I made paper patterns for the different tread shapes so I could lay out how big to assemble wood blanks for pairs of treads. The treads were mirrored except for flipping over to keep a straight board edge along the tread noses.
|
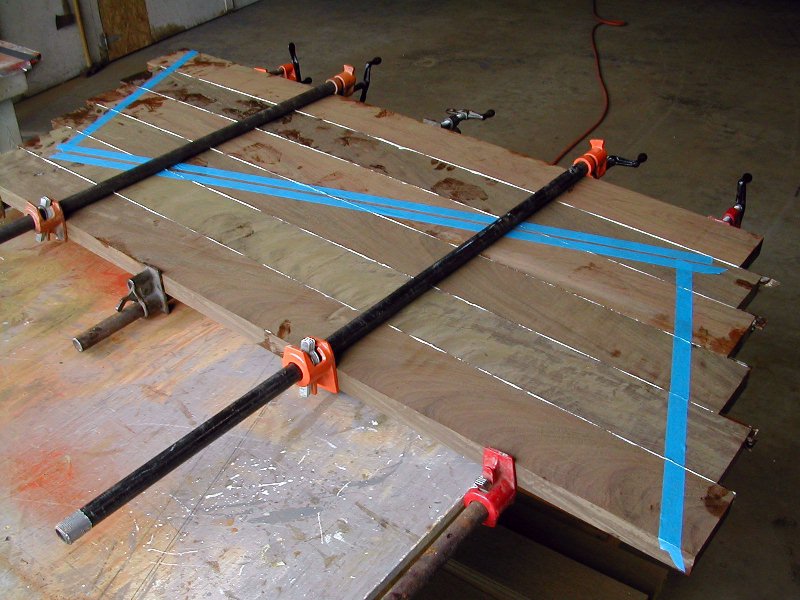
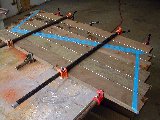
 The blue tape was located roughly where the tread edges would be. As much as possible I tried to keep flaws in the wood from being in conspicuous places.
|
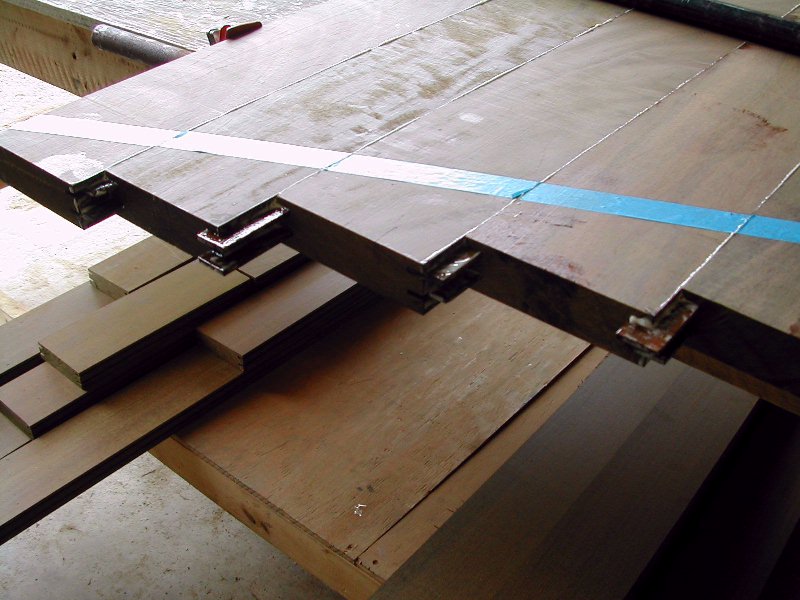
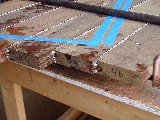 This picture shows the joint style I choose for this ipe wood. Ipe is probably the best wood you could consider for exterior projects, but it's a hard one to expect glue to adhere to. I cut grooves, two of them, in each boards edges and glued small strips of the same wood in place.
|
 This was my first experience using Gorilla glue, a polyurethane that swells and turns white during curing. I'd tested with exterior wood glues as well as epoxy and found the Gorilla glue to work as well as any of the others. It's also semi expensive but a little goes a long way.
|
 I knew these treads were going to be too wide to pass through my surface planer so I took care to assemble them as flat and square as I could. I had to use a belt sander to surface both sides of everything before I cut out the tread shapes.
|
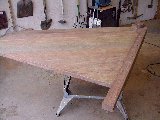 The landing was the largest part of the stair. Ipe wood is the heaviest I've ever used. The stuff is very expensive but sure finishes out nice.
|
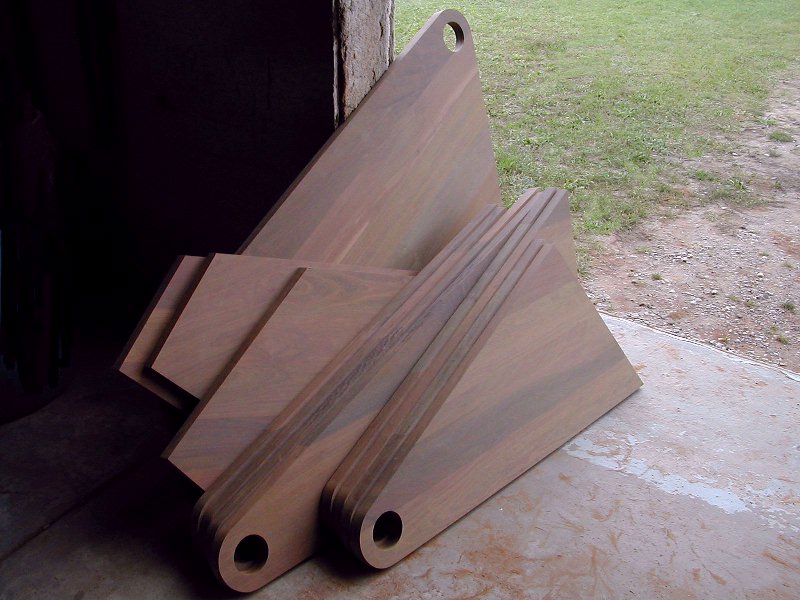
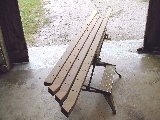
 The treads are cut to shape and ready for their baluster mounting holes and a quick routing along their edges.
|
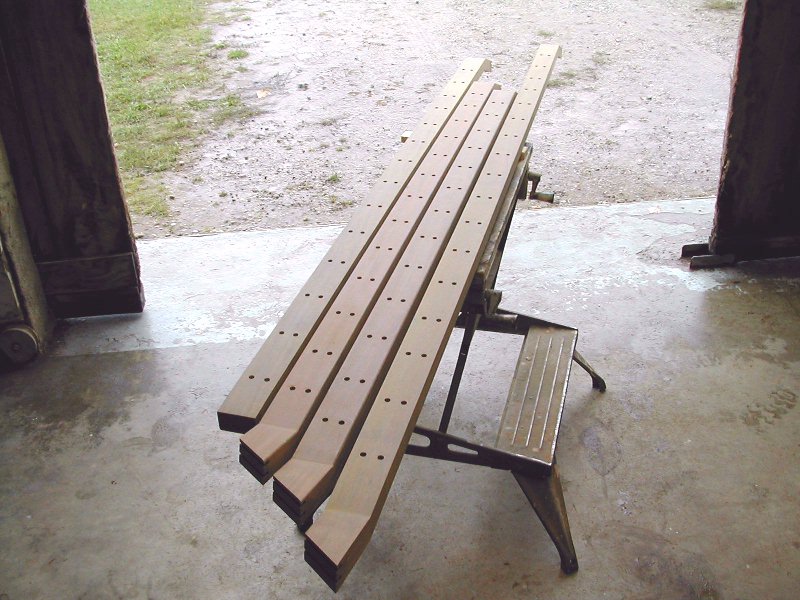
 I've also got the handrailings assembled as much as I can before taking them on the road. I built this stair in Michigan but it'll be going to Knoxville, Tennessee for installation.
|
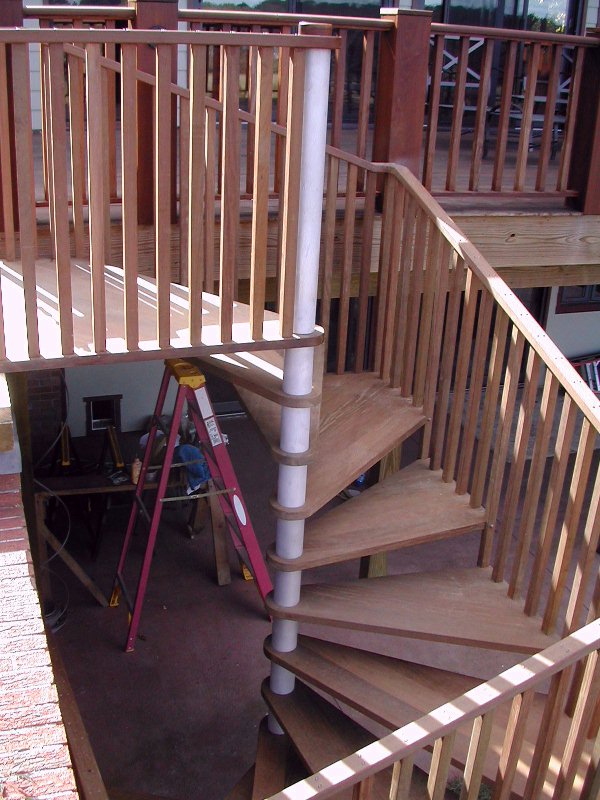
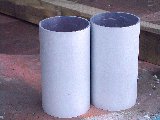 Since this stair is going to live outside, we decided to use aluminum tubing for the spacers between the treads. The wood is said to not need any treatments for anti-weathering except for a waxy liquid painted on the exposed end grains, we didn't want spacers that might need paint every now and then.
|
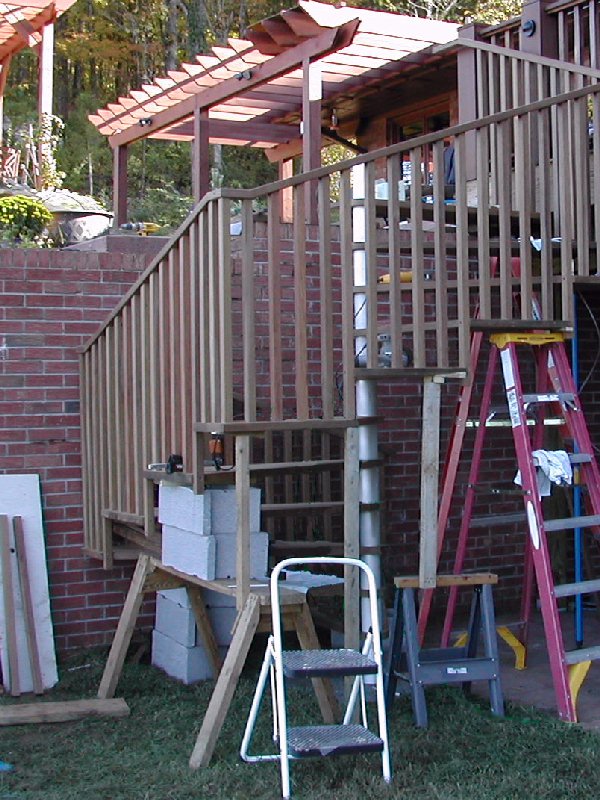
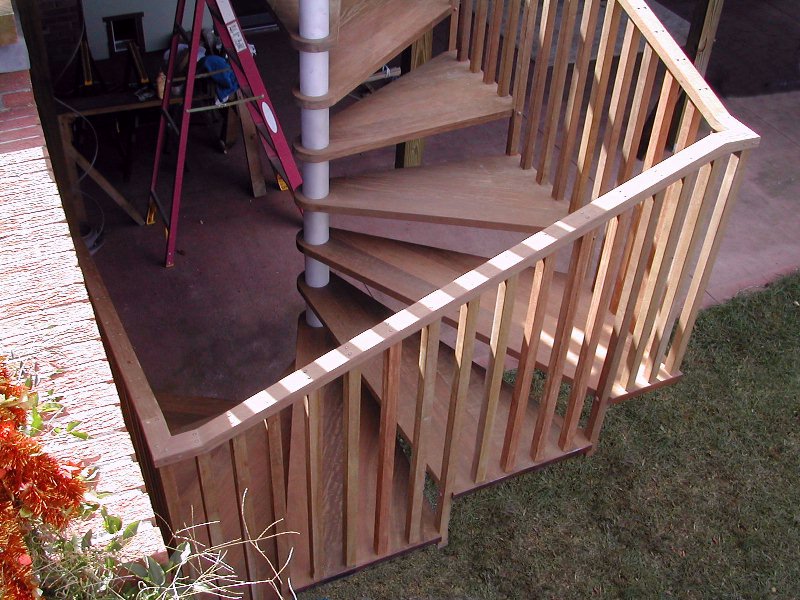
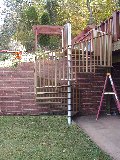
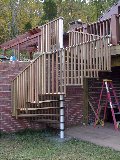
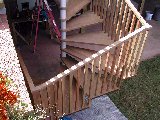
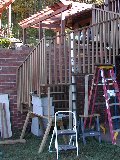 During the initial setup we built piles of things to hold the tread ends up until we could get the handrail installed. The treads in the corners were close to five feet in length and sagged quite a bit under their own weight.
|
 Once all the parts were in place it was hard to not just walk around and look at it.
|
 We're just about ready to call it a done deal at this point.
|
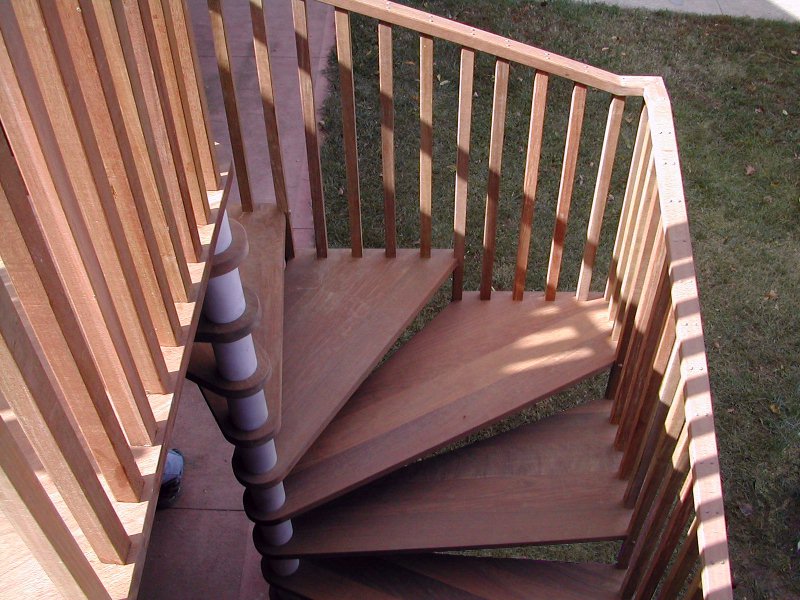
 The whole spiral was given a coat or two of the waxy liquid which made all the wood grain look beautiful.
|
 There's a good chance these next few pictures were from before the coatings were applied.
|
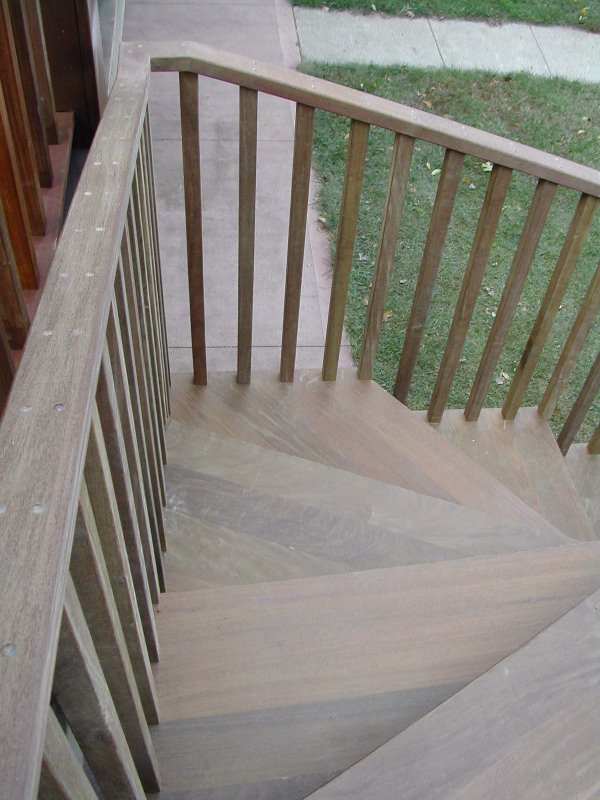
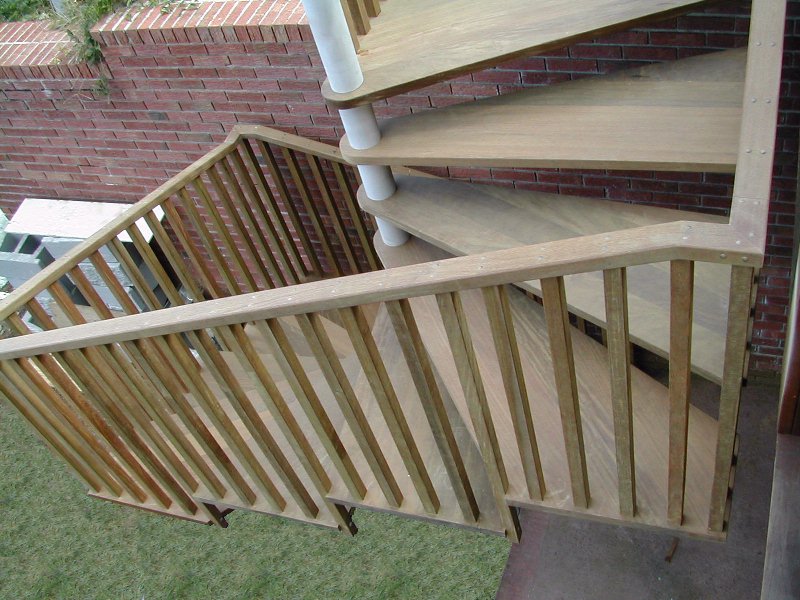
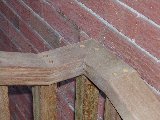
 Got a little carried away with corner pictures.
|
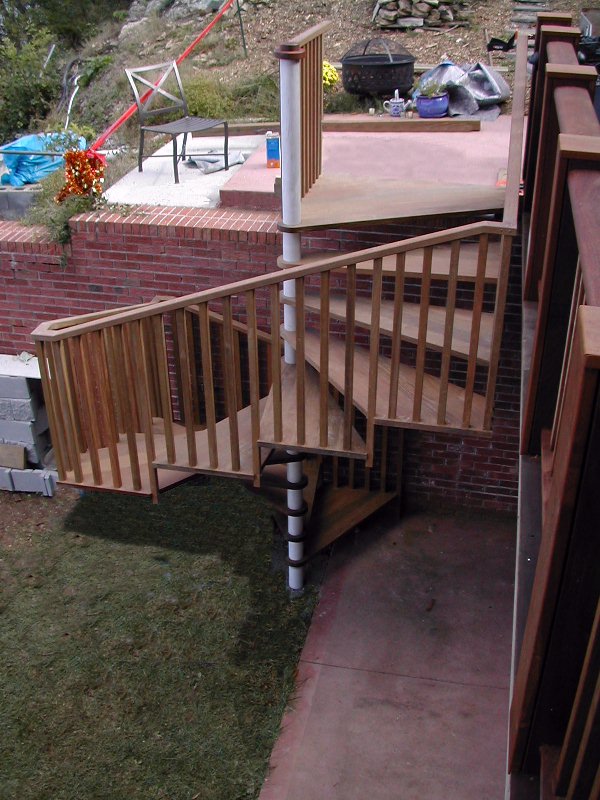
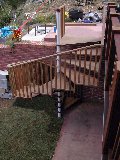
 As you can see, everything fit together on the first try.
|
 Doing projects like this using CAD models has given me 100% confidence in assembly.
|
 When the CAD models are carefully made, the assembly is a lot like building the model, sort of like having done it already.
|
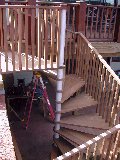
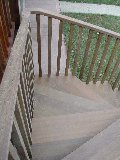
 Once it was all up and running we think 72" by 96 was a little too ambitious a size. The treads in the corners go up and down a little, not enough to break, but enough to not want to go this big again with a rectangle spiral.
|
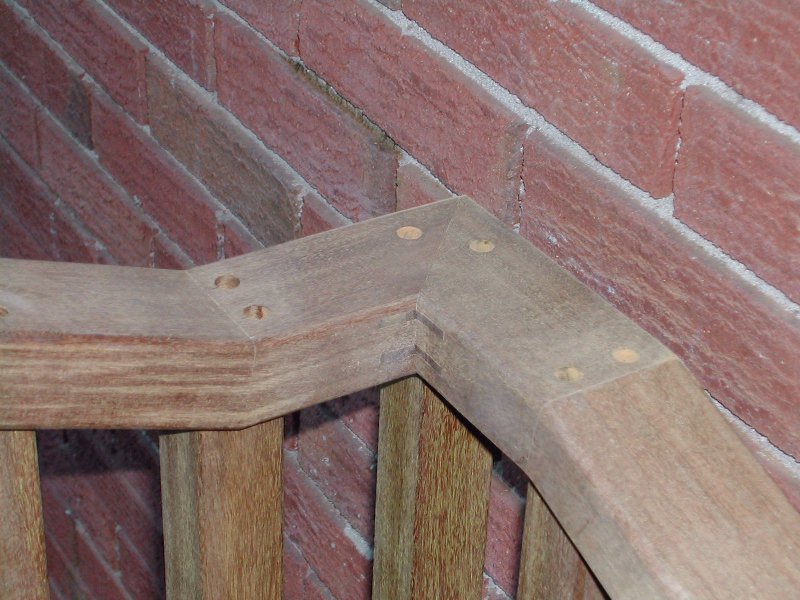
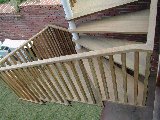
 It's a little hard to see, but the same joints were made between the handrail corners as were used assembling the tread blocks. Most of the baluster mounting screw holes were plugged with dome topped buttons, but the corner buttons were sanded flush.
|
With questions, you can contact John (the owner) here. John Haynes
|
|
Or me through this link. jim@jself.com
|