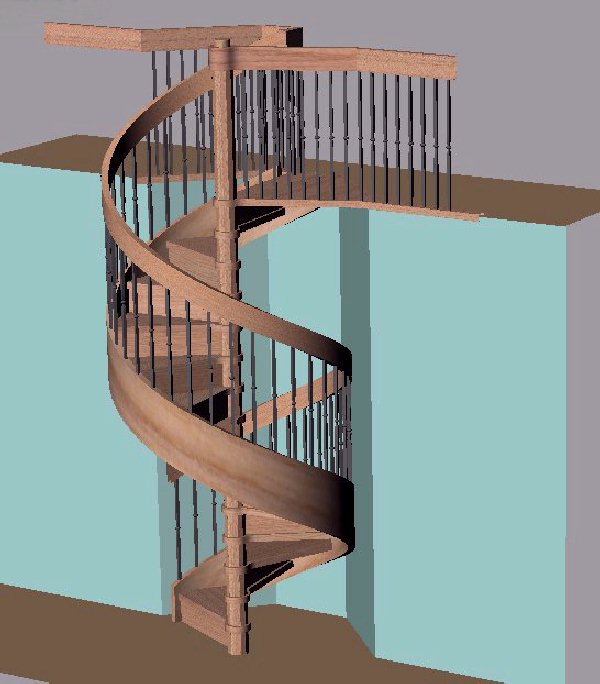
Although I've built a half turn free standing winding staircase previously, this full turning solid stringer spiral was a first for me.
Click on the small pictures to bring up bigger ones.
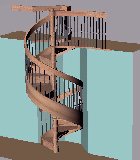 CAD, (Computer Aided Design) is extremely beneficial in the designing of most all products. I find it very useful in the design and pre-construction of stairways. All the design parameters and dimensions are used in constructing CAD models. These constructions can be rotated and zoomed for precision work.
|
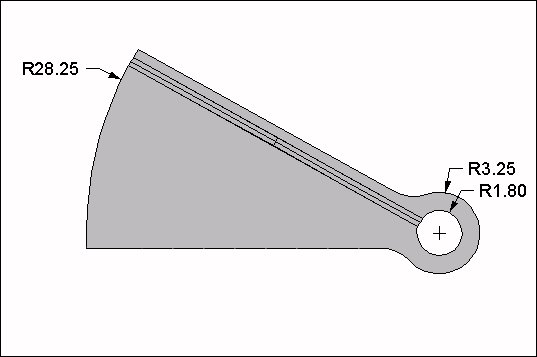
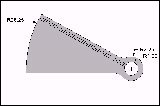 As seen in this CAD example, dimensions can easily be taken from the models individual parts.
|
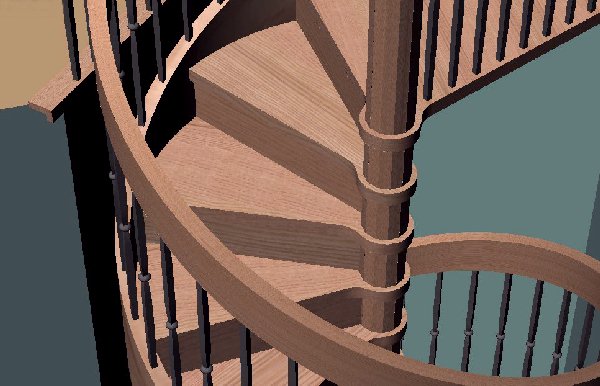
 Making and using models in this way is very much like actually building the stair before committing to cutting parts from wood. Many of the problems that may be encountered during actual construction will be discovered well beforehand.
|
 There is no limit to the amount of detail you can enter in these models, I usually stop with the most basic of parts as there's no reason here to radius edges, place screw holes, or make threads.
|
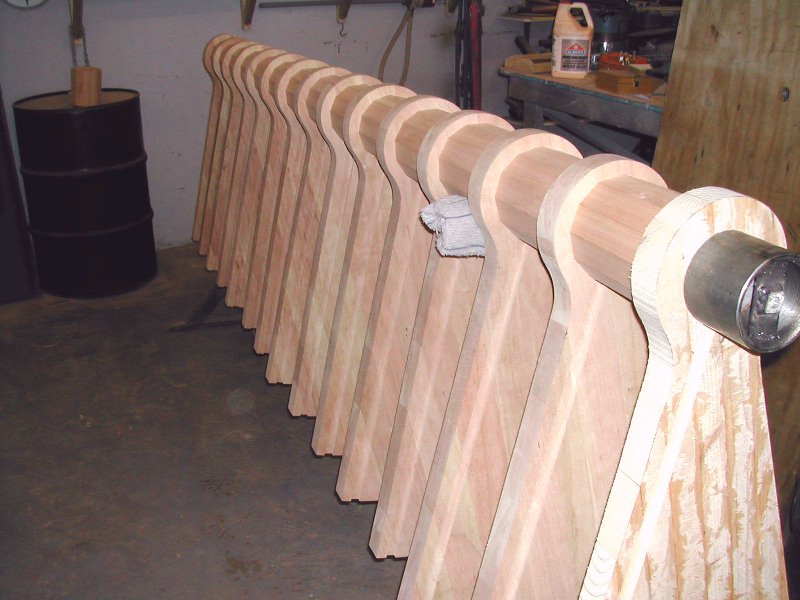
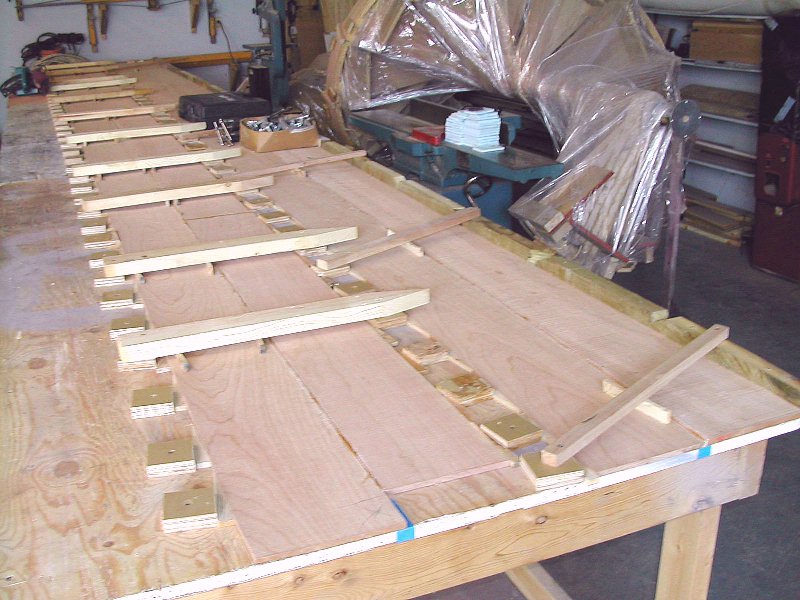
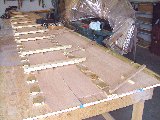
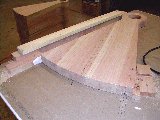 I have the treads roughed to shape and beginning to cut dadoes for the riser boards.
|
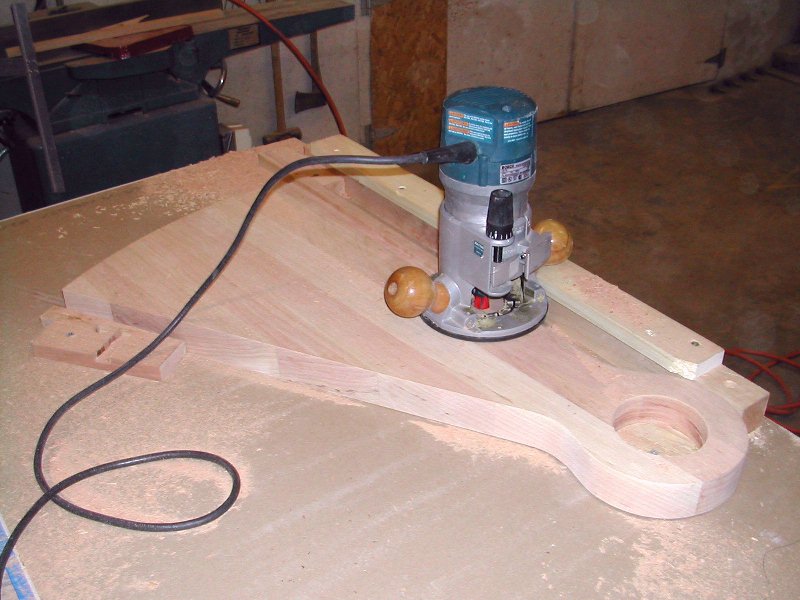
 I set up a simple guide for the router so each tread could be duplicated more precisely than using a guide on the router. At this point the tops and the bottoms of the treads require similar work.
|
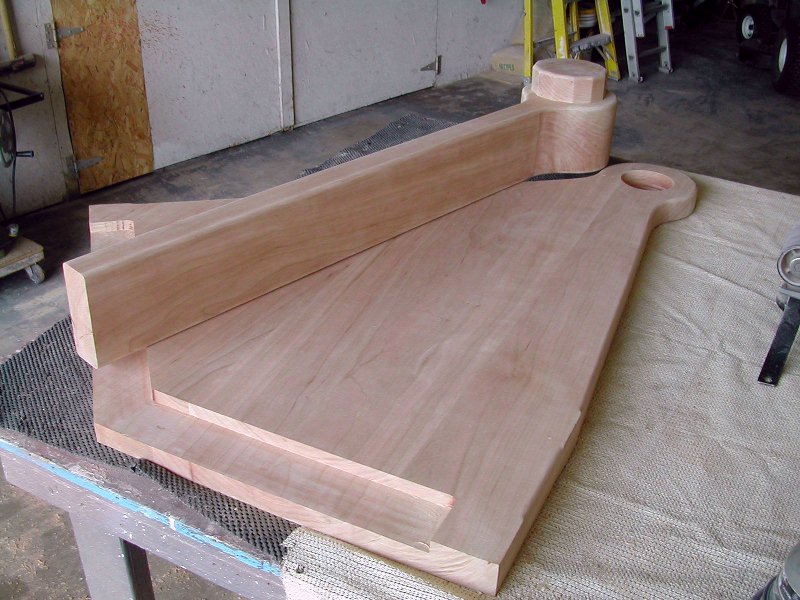
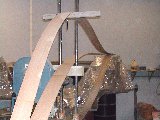
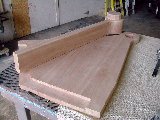 I've also started to get the landing in shape. I've cut some of the upper surface away to allow the carpet to run onto the landing a little after the stair is installed. Also pictured is the handrail portion that runs along the back edge of the landing as well as the top cap that will cover the upper posts fastener.
|
 The top post has a threaded coupling inserted in its lower end to facilitate its tightening to the center post. There's a threaded rod running down through the handrail that threads into a plate and nut welded inside the coupling.
|
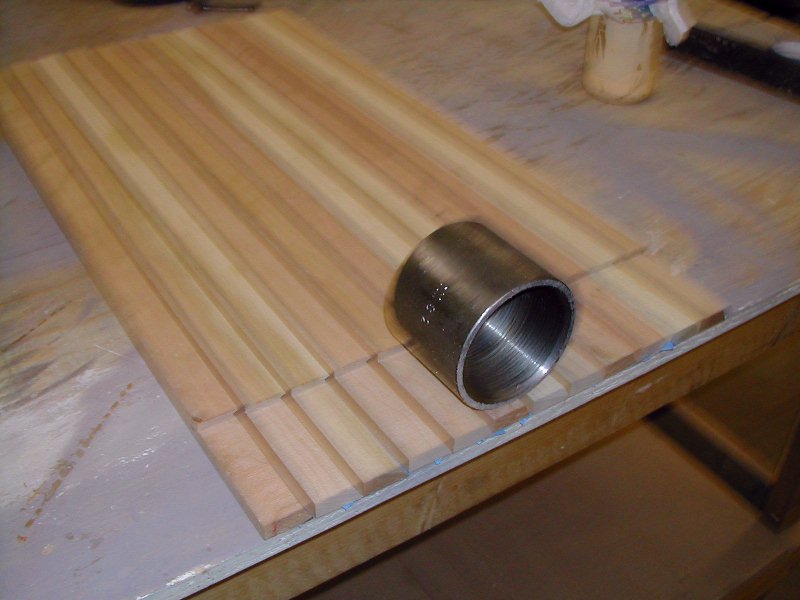
 When the 12 sides are glued and then rolled together they form a wood tube.
|
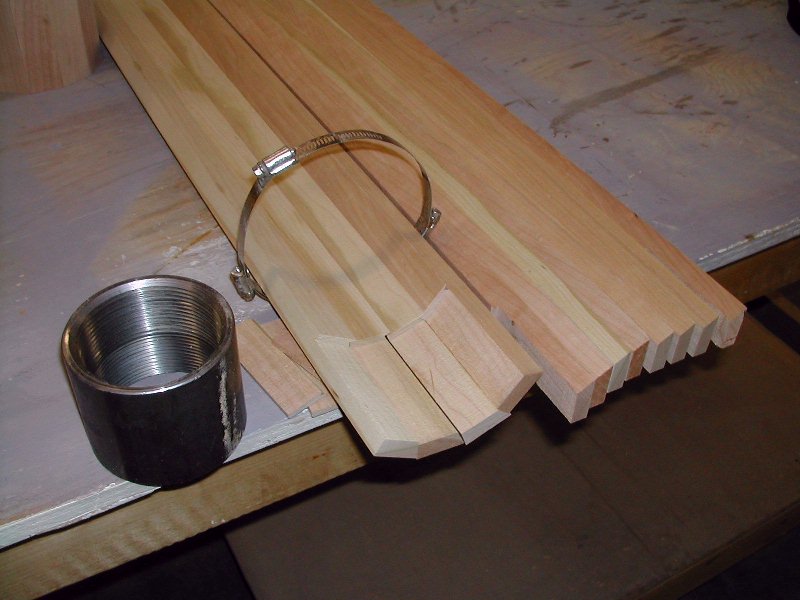
 I have used wood tube for spacers before as they have a nice look to them but they do require a lot of extra work. Note the blue tape that keeps the wood strips positioned while the hose clamps are positioned.
|
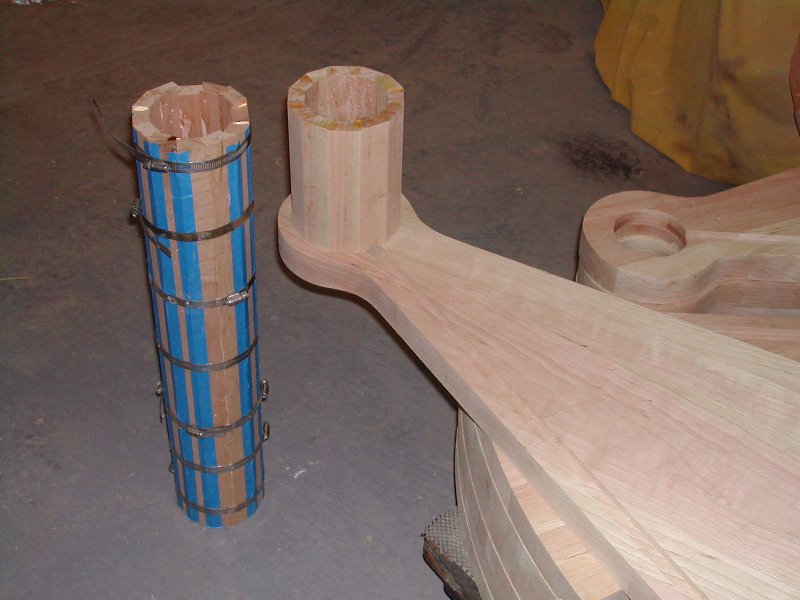
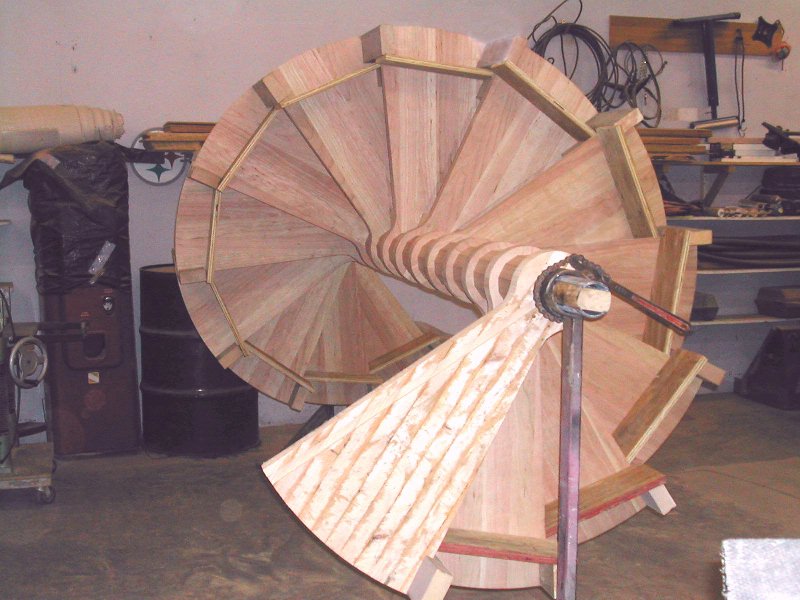
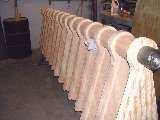 Pre-assembly of the treads and spacers allows for the height of the spiral to be known and adjusted if necessary.
|
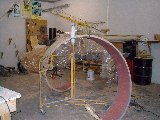
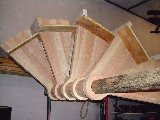 I'm assembling the stair with wood blocking to hold all the parts square and properly aligned for the following assemblies. The 2x4 pieces are attached flush with the ends of the treads.
|
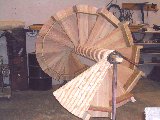 I had to make a temporary top tread because the landing is too long to allow a stringer to be built in place without interference. I've also used the upper coupling to tighten all the parts for final height measurements.
|
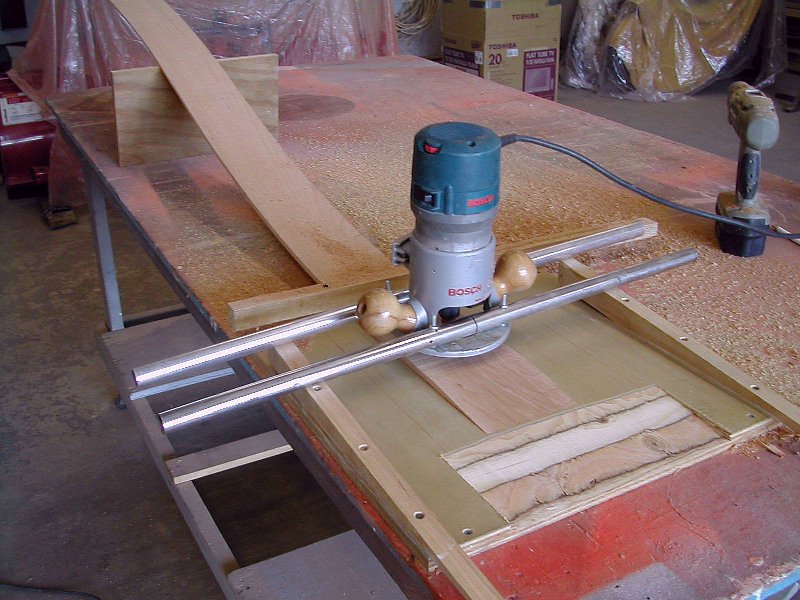
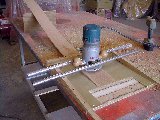 The handrail is close to two inches thick and close to 22 feet long, so I've made a jig that helps in making scarf joints for joining 1/4 by 6" wood into proper length lamination material. Attached to the router are two short pieces of tubing that slide up and down along the side rails.
|
 Glue and home made clamps fit the problem here. I used styrofoam under the wood blocks to make a more even pressure over the entire width.
|
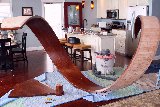
 The stringers will also be needing 22 foot long wood, except 15" wide, for at least the inner and outer stringer surfaces, so here I'm joining side to side as well as for length. These are a lot more difficult to make than it would seem, so I've planned on just making them for the surfaces that show rather than filling the core too.
|
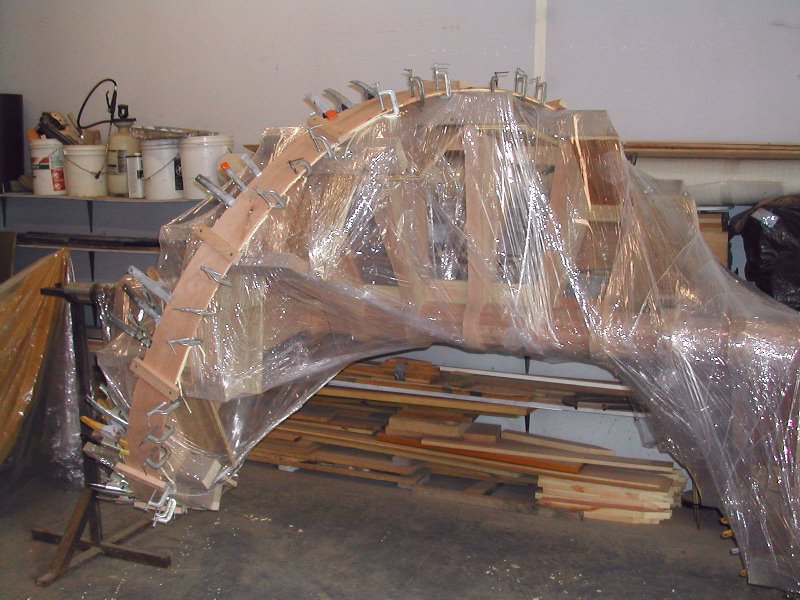
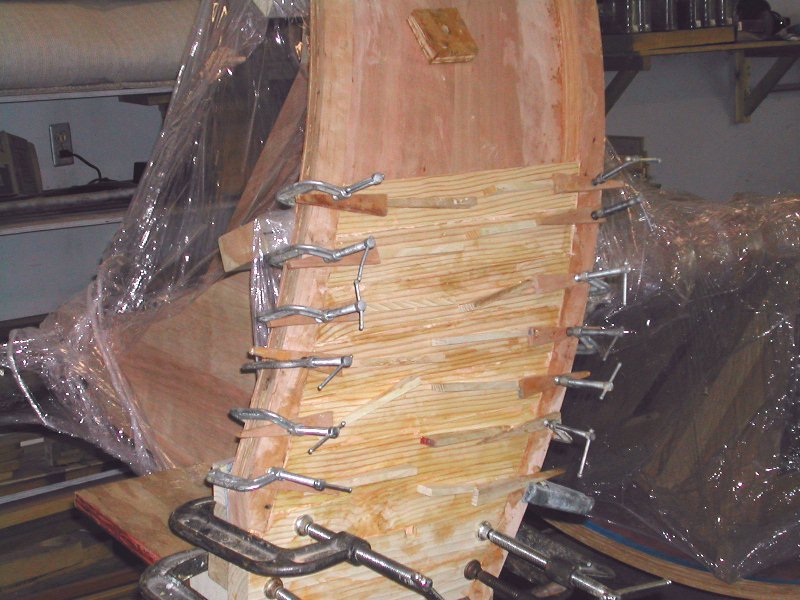
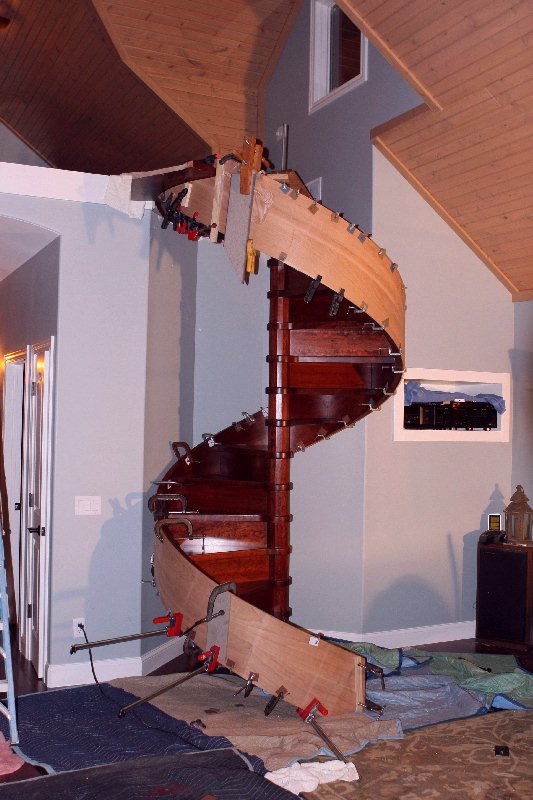
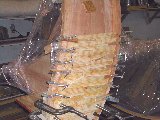
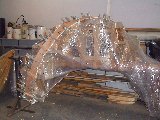 The next jobs are going to be real messy so the stair has been wrapped in plastic sheeting. You can see that I've glued and clamped several of the handrail laminations to the treads and fastened them in position until the glue dries.
|
 I built a little something to help feed the wood into position so they could be glued then the stair revolved which rolled the laminations into place. I was able to do just a few feet at a time so I wasn't having a problem with the glue drying before placement.
|
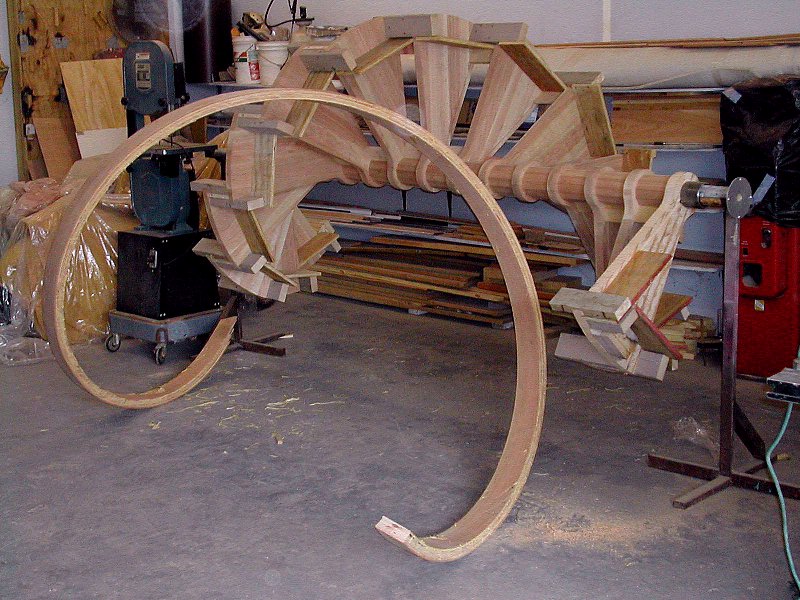
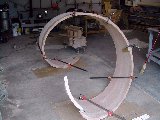
 After a couple of days I removed the handrail to make room for laminating the stringer, I learned a few things in doing the handrail first instead of jumping right into attempting the stringer.
|
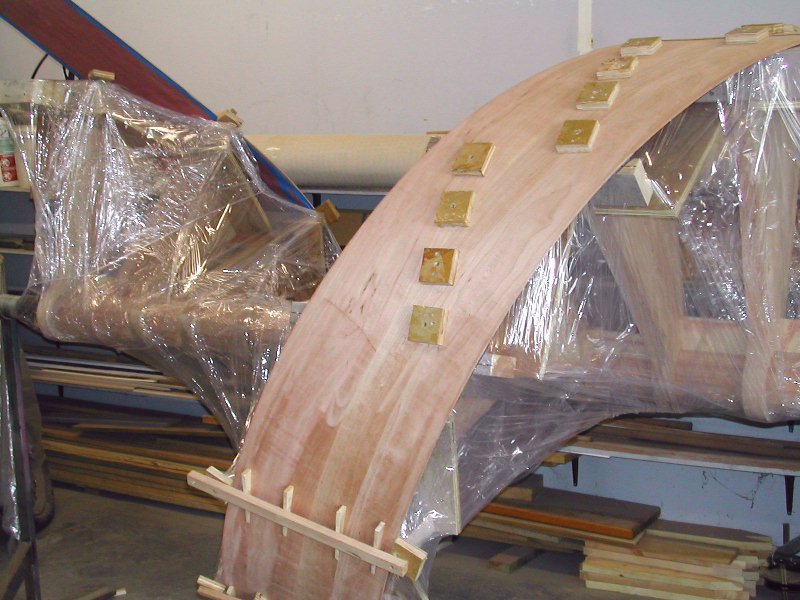
 I wrapped one of the stringer surfaces to exactly where I wanted to eventually have it mounted for real. I screwed wood blocks into the tread ends exactly where I would be making pilot holes for fastening the stringer to the treads during final assembly. Notice the wood wedges I needed to ensure the initial lamination was being placed very tightly in position.
|
 Since I made only two wide laminations for the stringer but wanted cherry on all four of its edges. I laminated good wood along the edges that show which saved me a lot of aggravation. It was a lot easier to make edge fillers than full width laminations.
|
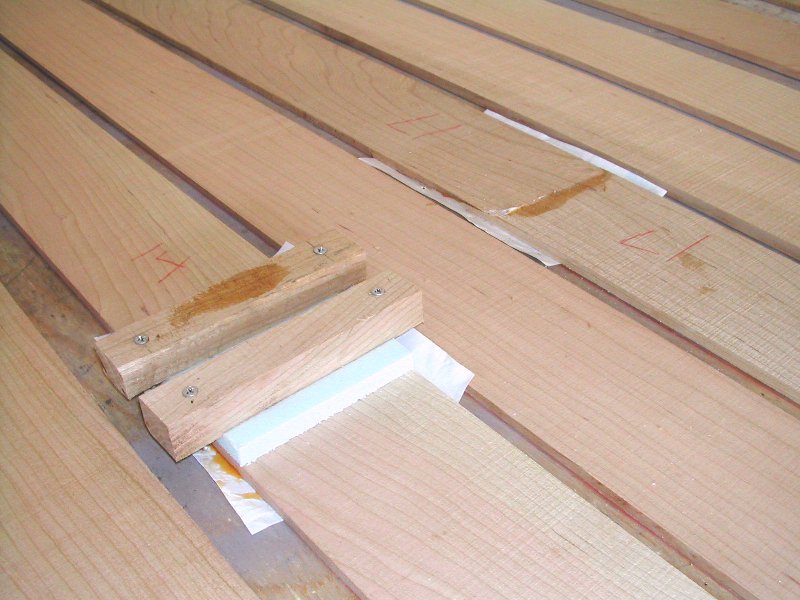
 Here I'm filling between the edges using yellow pine 2x2s. I was able to remove the temporary wood blocks as I traveled along the stringers length.
|
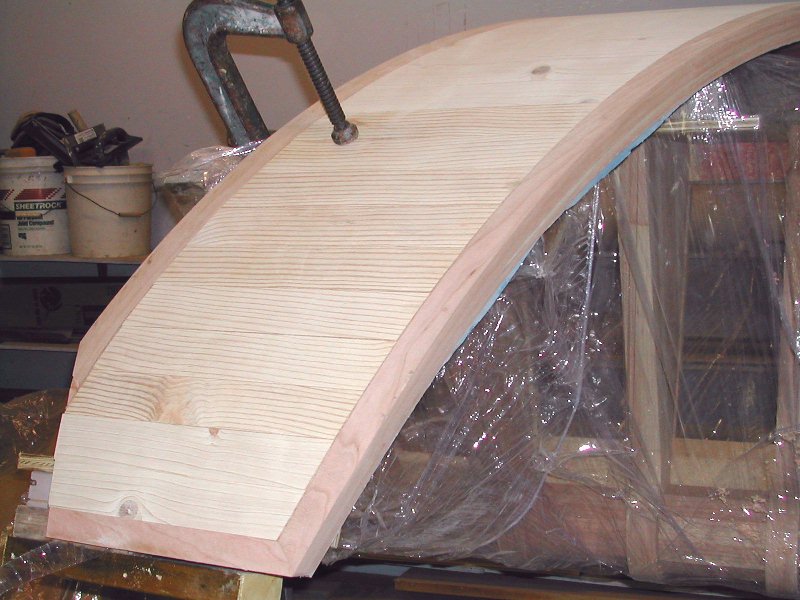
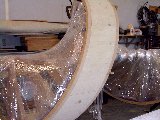 A little more than a little belt sanding later, the outside surface of the stringer is just a final lamination short of being completed.
|
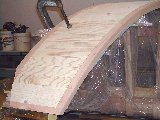 While still properly positioned on the stair I was able to cut the ends to their final shapes as well as make sure the edges that show when finished were of the proper wood type.
|
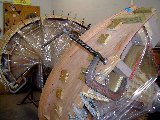
 The stringer held its shape amazingly well considering the different wood types in its construction. You can see that I had its finished face protected with rosin paper so it wouldn't get slopped on by the glue.
|
 In this picture I've clamped the handrail to the stringer so I could transfer stringer length markings to the handrail. I couldn't tell for certain where to clip the handrail to length until I'd clipped the stringer.
|
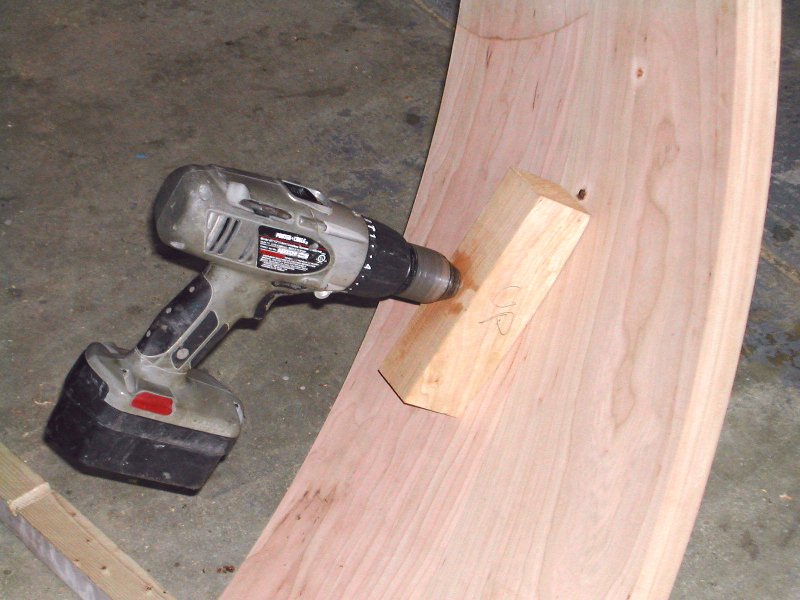
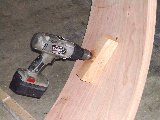 Using a small wood block with a radius matching the stringer, drill transfer the previously made holes from the inside stringer face to the outside. The wood block held the drill perpendicular to the surface. After I knew where the outside holes were located I could counter bore from the outside to allow for bolts and washers that would be used to attach the stringer.
|
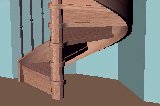
 The amazing part here is that all the parts went into place without a lot of fighting with them. It's a little hard to tell here, but we set the stair up on temporary blocks which allowed us to revolve the whole spiral during assembly. Notice I said we about now. I was just contracted to build and assemble the stair, not do the staining or install the steel balusters. After delivering the parts to the Woodward families I wasn't called back to help with the assembly until they'd completed the staining and polyurethane coatings.
|
 As you can see, they did a wonderful job in the finish they applied. They also seem to have taken the task of drilling all those baluster mounting holes really well. To say the least, that was a difficult and tedious undertaking. You can imagine drilling vertical square holes, close to 60 of them, for the entire length of the stringer, then also mirroring those to the underside of the handrail.
|
 In this picture we're just beginning to attach the stringer, note the screwdrivers used to locate the pilot holes.
|
 Here we've glued the final outside face lamination into place. It'll need to be sanded flush to the stringer and stained after its dried.
|
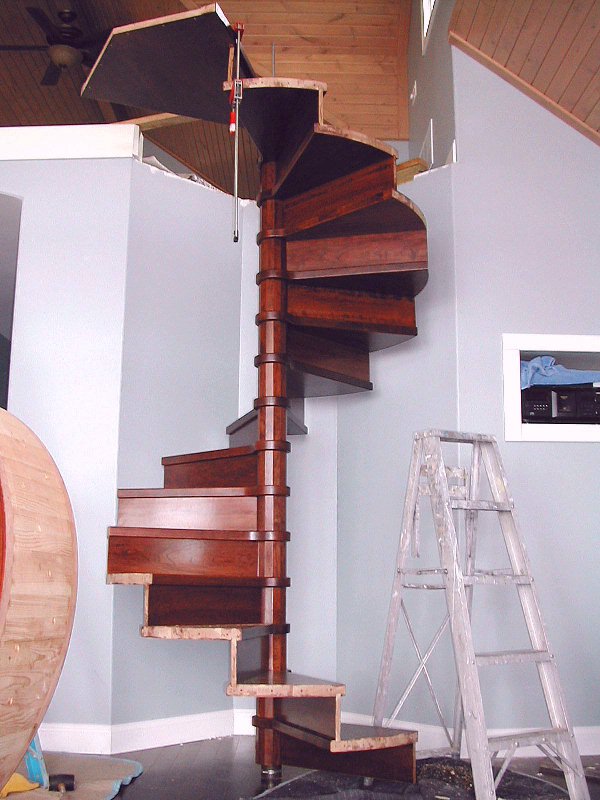
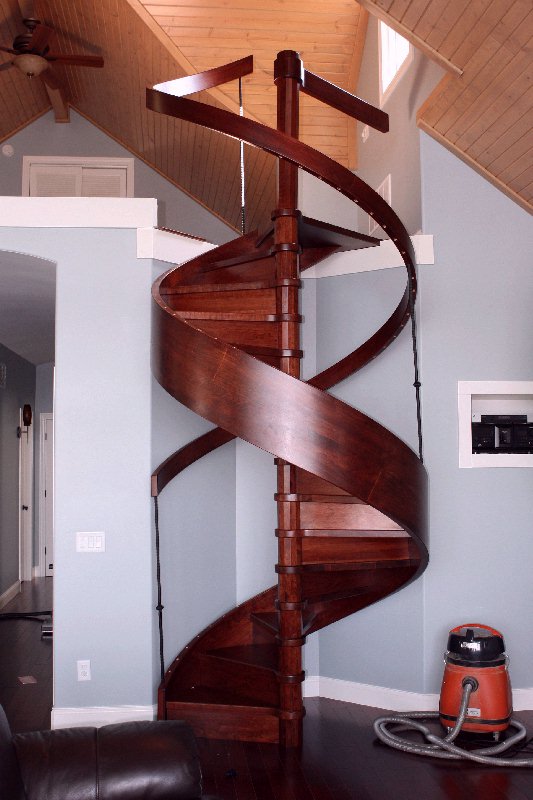
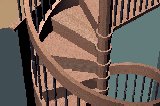
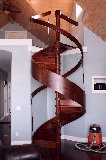 As you can see The Woodward families have placed the handrail using a minimum number of its balusters. This picture should, give you an appreciation of the work involved with drilling all those square holes for the square steel balusters. I've yet to see the stair this far in its assembly. I hope to get in their area again one of these days.
|
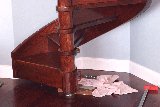 This picture shows the spacer we had under the stair that held it off the floor so we could revolve it.
|
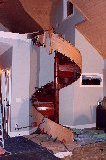
 With the landing down and fastened they could now begin the design and fabrication of the loft edge railings. Once installed, the railing for the back edge of the landing will be a good place to start.
|
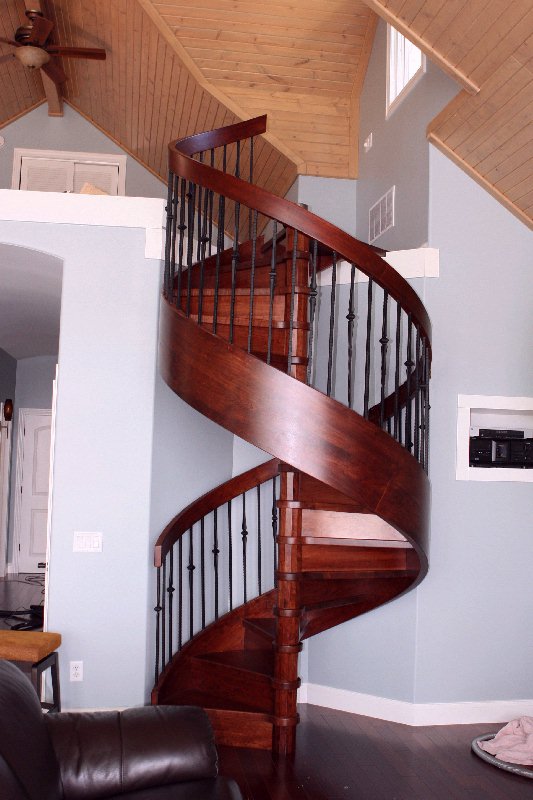
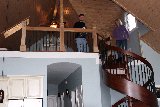 The loft edge railing and post cover seem to be about finished.
|
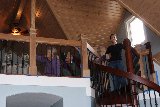 I also see the railing on the back edge of the landing is now installed.
|
With questions, you can contact Steve (the owner) here. Steve Woodward
|
|
Or me through this link. jim@jself.com
|